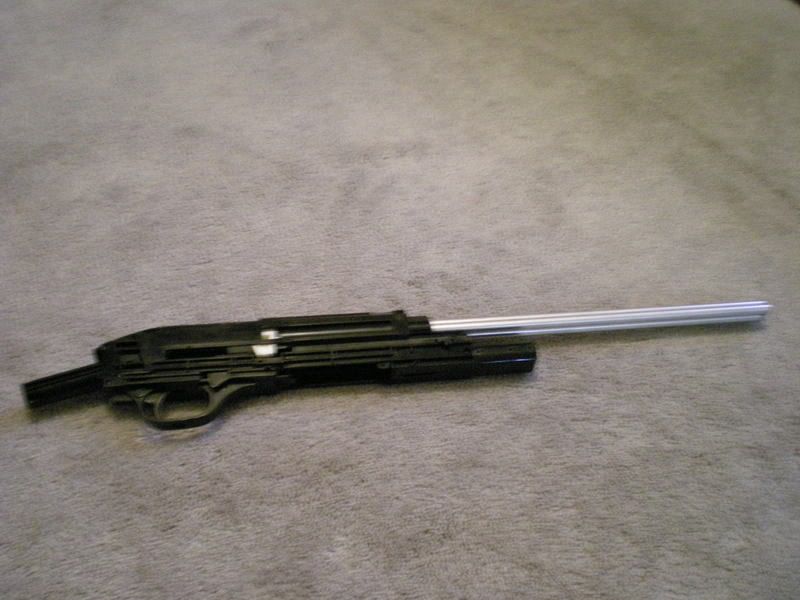
Part 1: basic disassembly/reassembly
Part 2: work needed to make it an older style shotty.
Tools needed:
-medium Phillups screwdriver
-small phillups screwdriver
-medium standard screwdriver
-small standard screwdriver
-really small torx drive
Other Info
I will only be showing parts on one side of the gun but allmost everything is semetrical.
I dont have a shorty at this time but may add that to the guide later.
Here we gooooo.-Mario

Part 1:
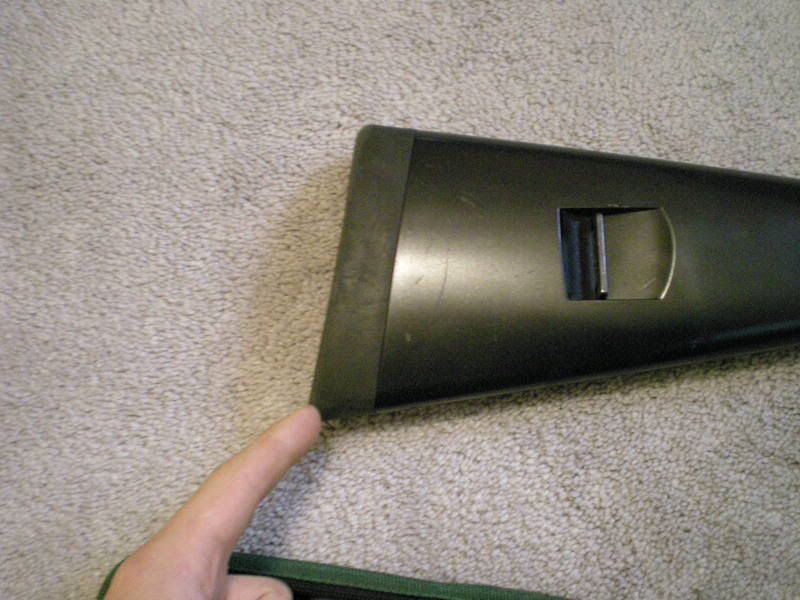
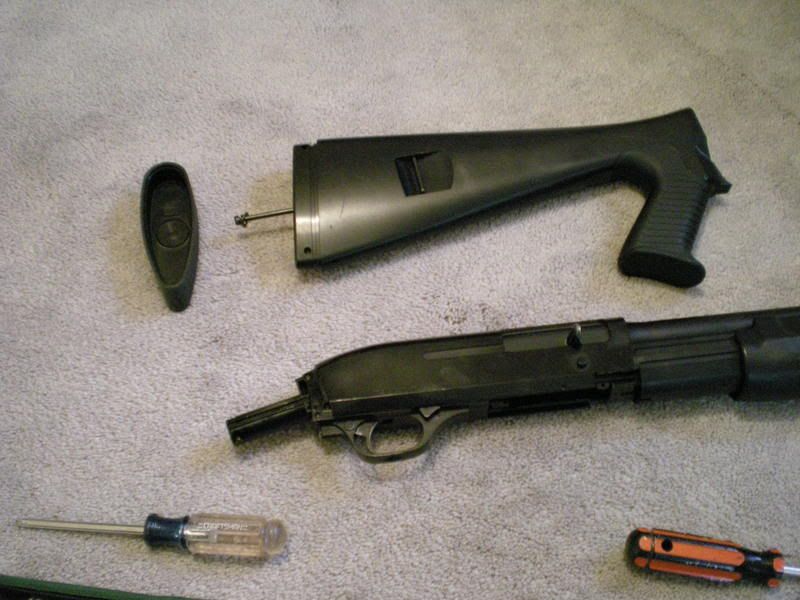
Step one: remove the stock
Remove the butt plate and unscrew the bolt that was covered by it.
Step Two: remove the slide
unscrew the two bolts on the bottom of the slide.

you will need to pry off one side of the slide it shouldnt be too hard but does require some force. Once you get the one side off there will be a small screw holding the other half of the slide on, remove it.
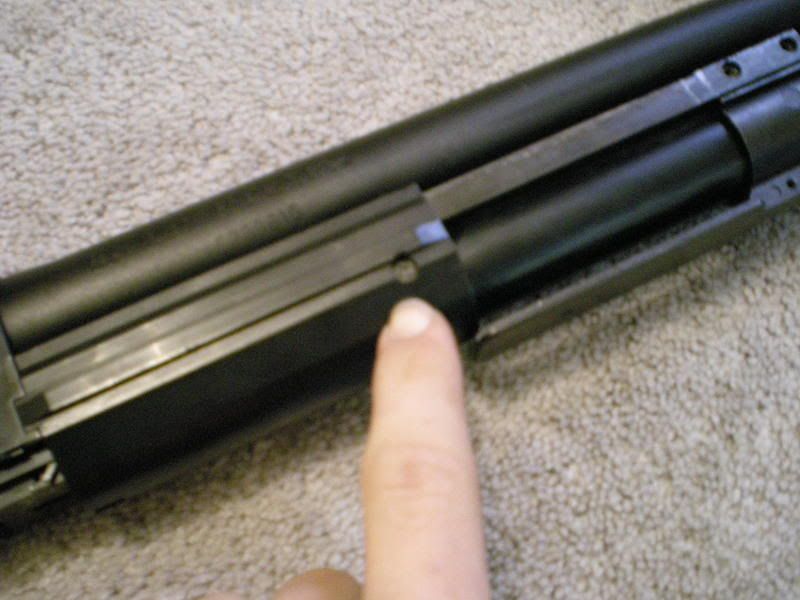
Step Three:Remove the front end.
there are 4 small screws with lock washers on them that need to be removed.
there are 2 screws holding this plastic piece on, remove them.
Slide that piece forward.
There are 4 more screws that need to be removed.
now slide the entire front end off.
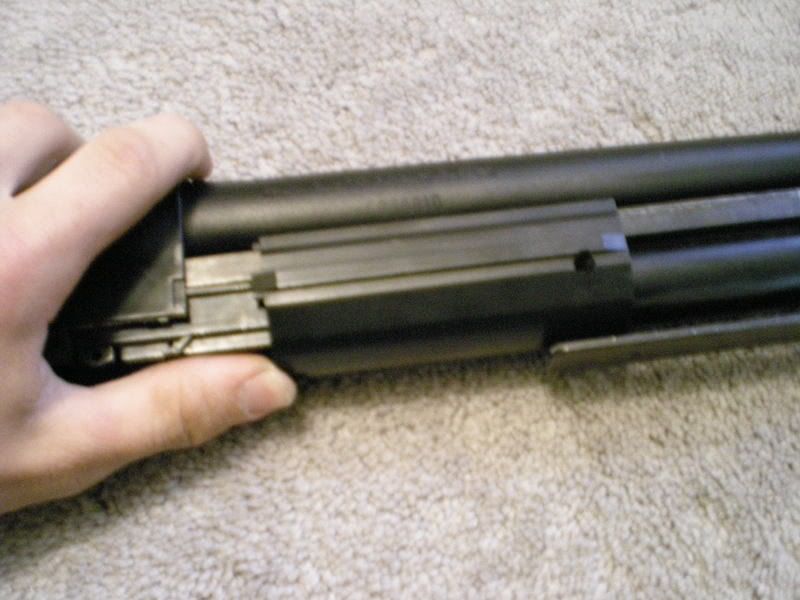
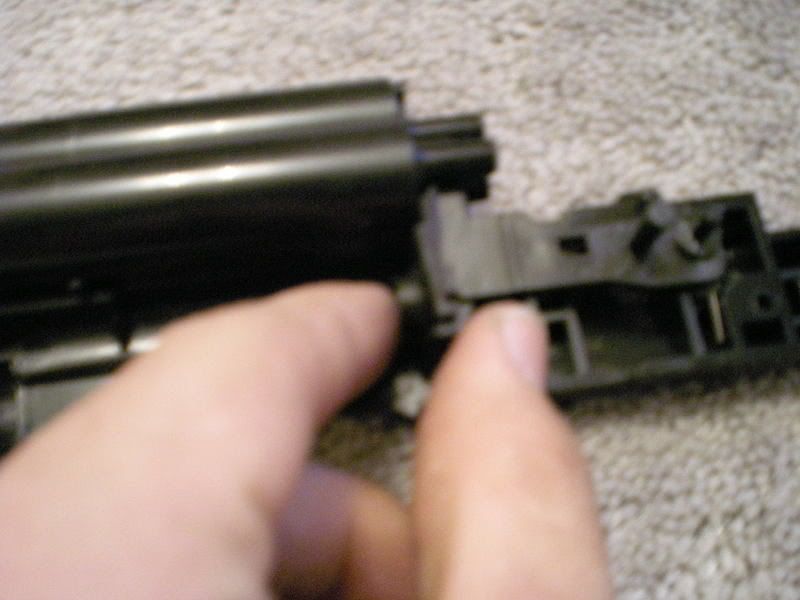
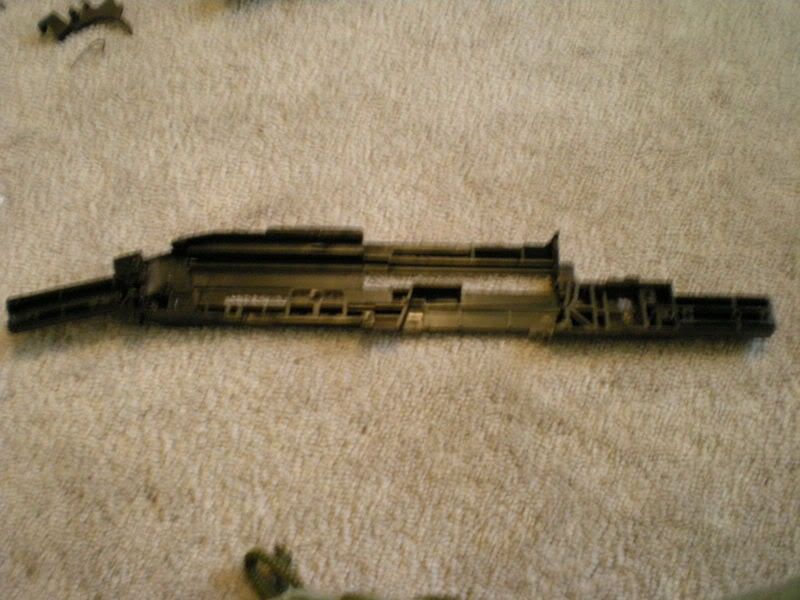
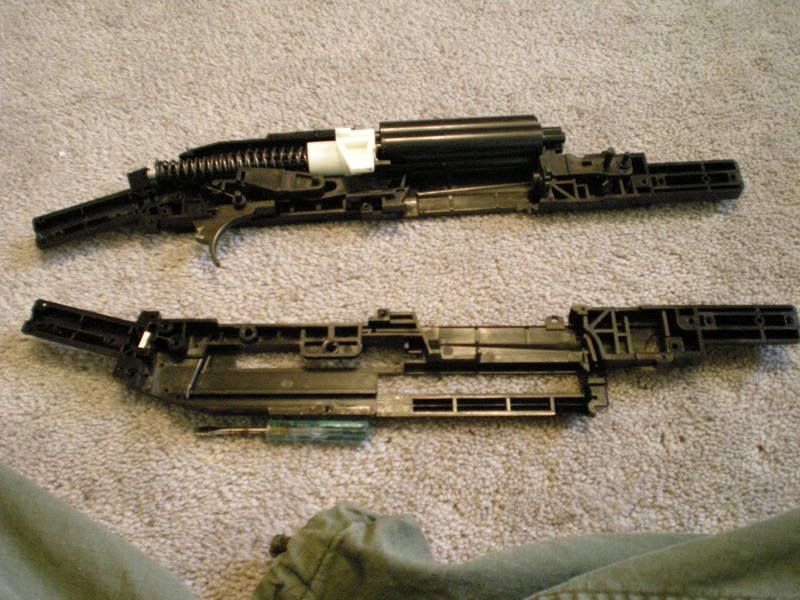
Step Four: Remove the body.
start at the back and slowly pry it out and up off the internals.

watch out for this piece it likes to jump out and the little spring is hard to find.
well done. lets move on.
I know there is another piece that is useally infront of where the shell goes but it came off this rifle my other one has it but that one is in a buddys car. I dont exactly know how this comes off but it came off this one pretty easy.
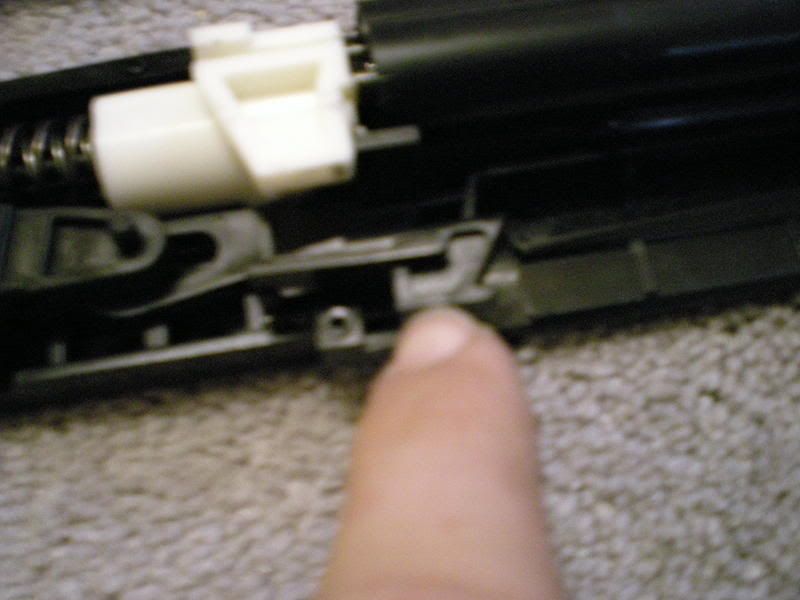
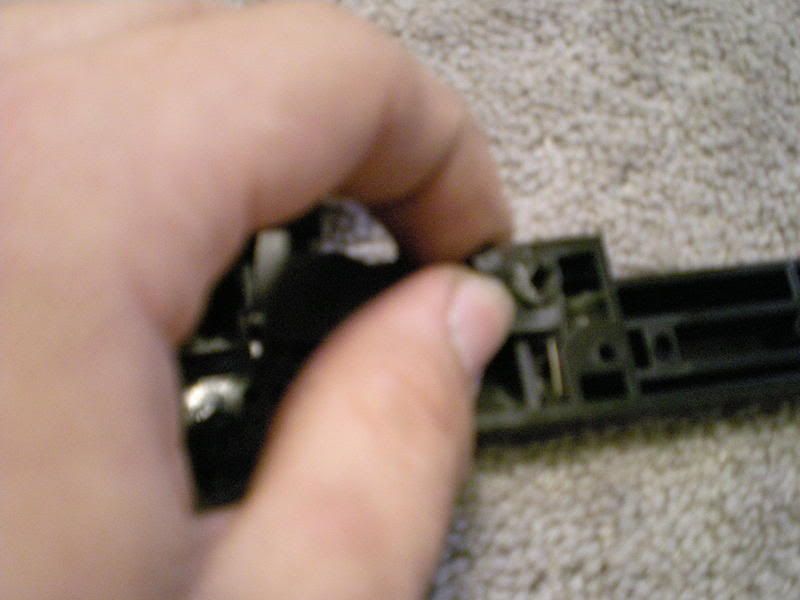
Step Five:remove the slide bars.
remove this piece and keep track of the spring.
to remove these to bars rotate them down and out.
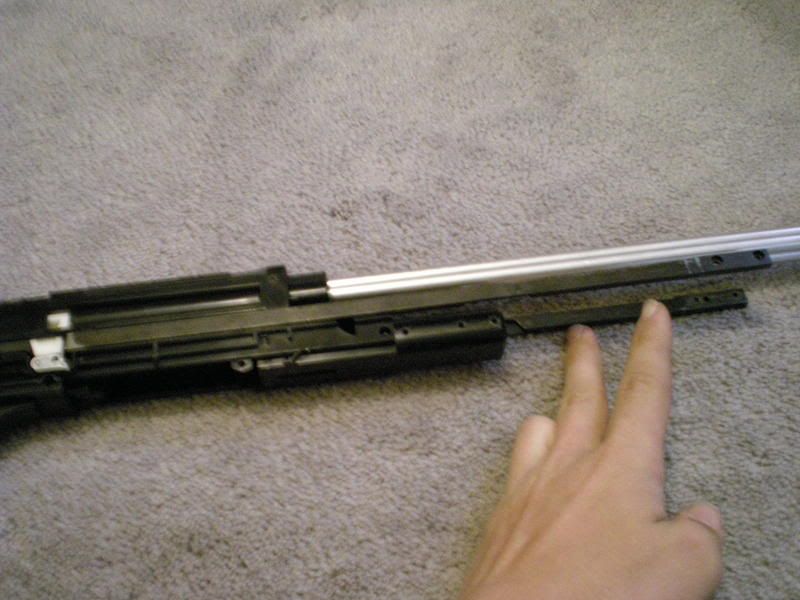
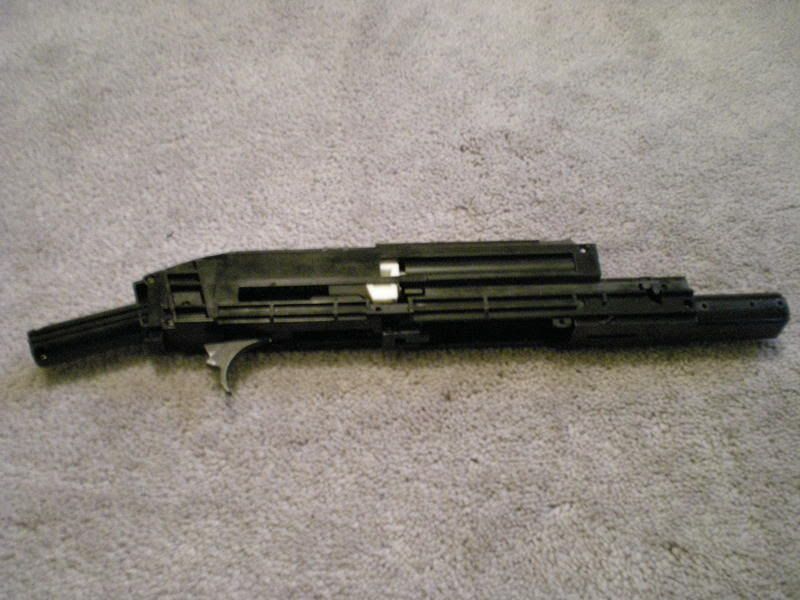
it should now look like this.
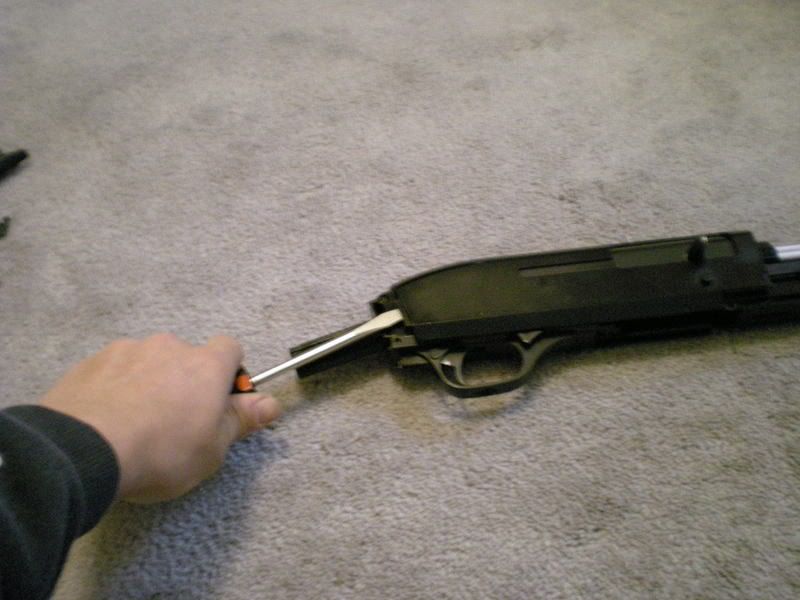
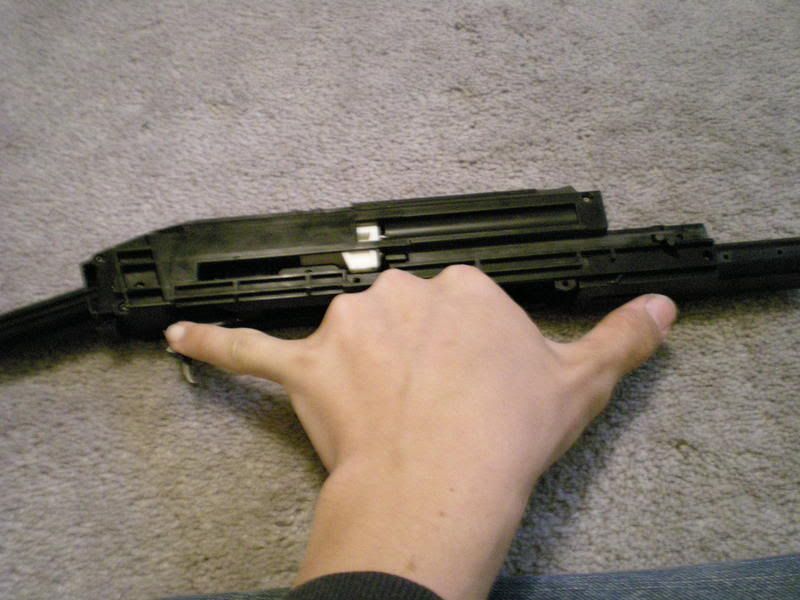
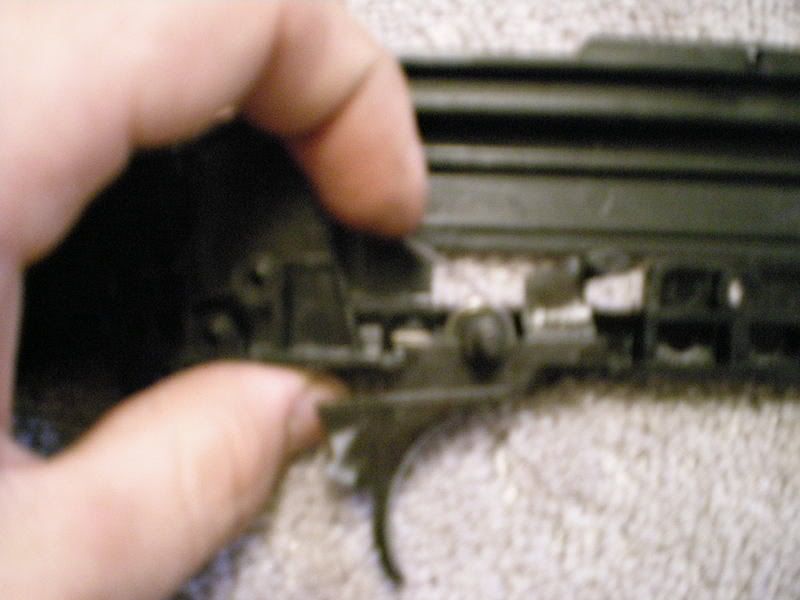
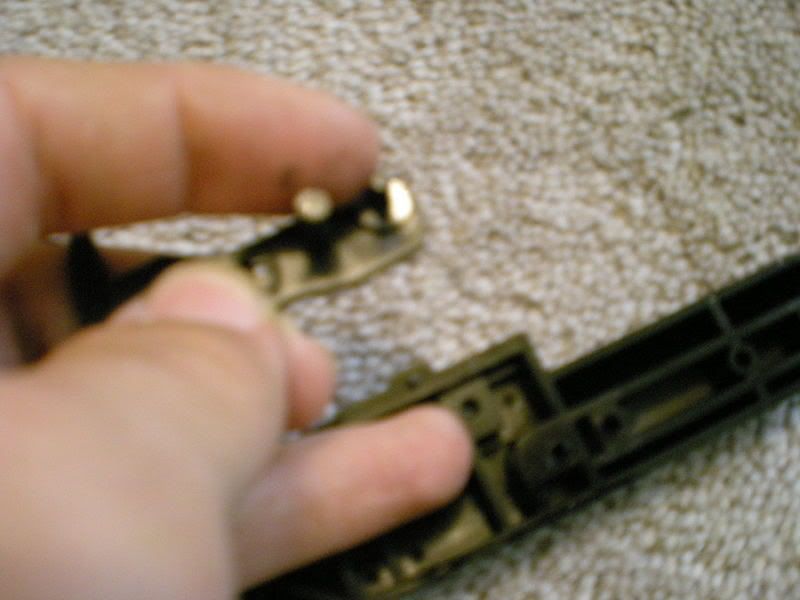
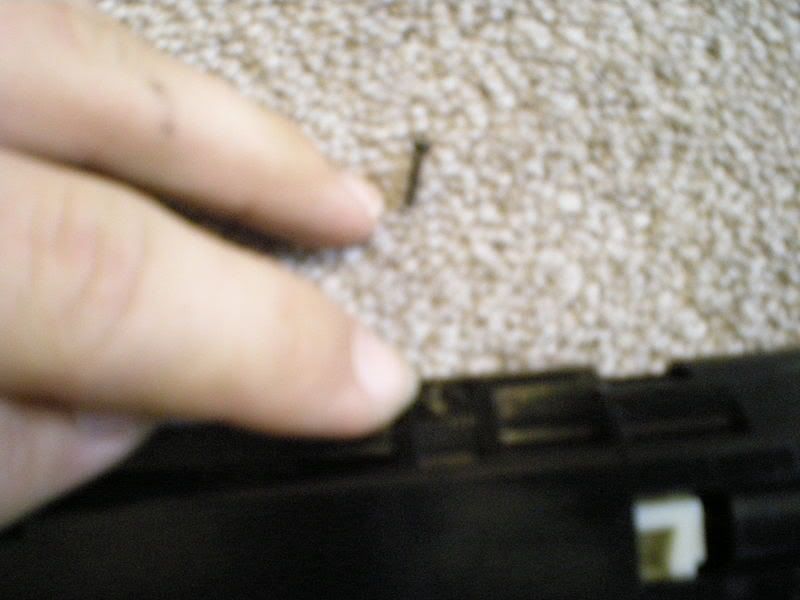
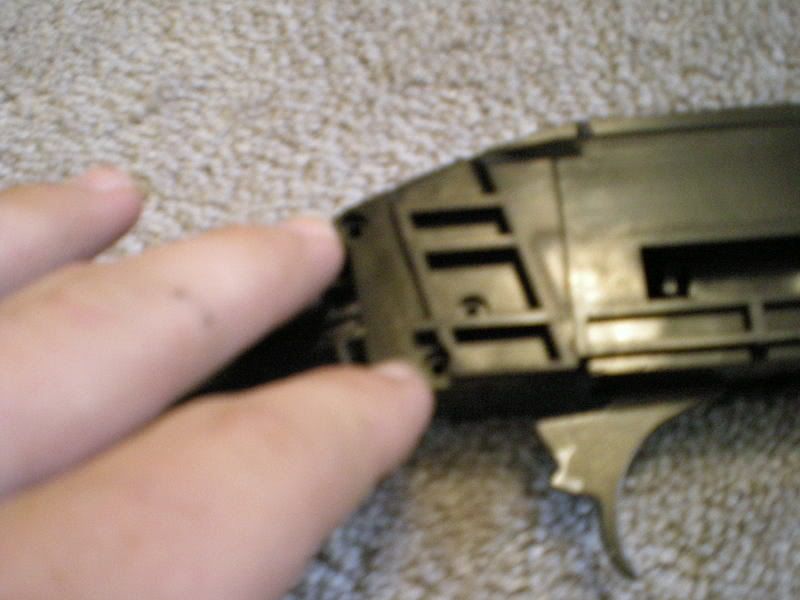
Step Six:lets take off that trigger guard.
there are 2 small screws holding on the trigger guard here.
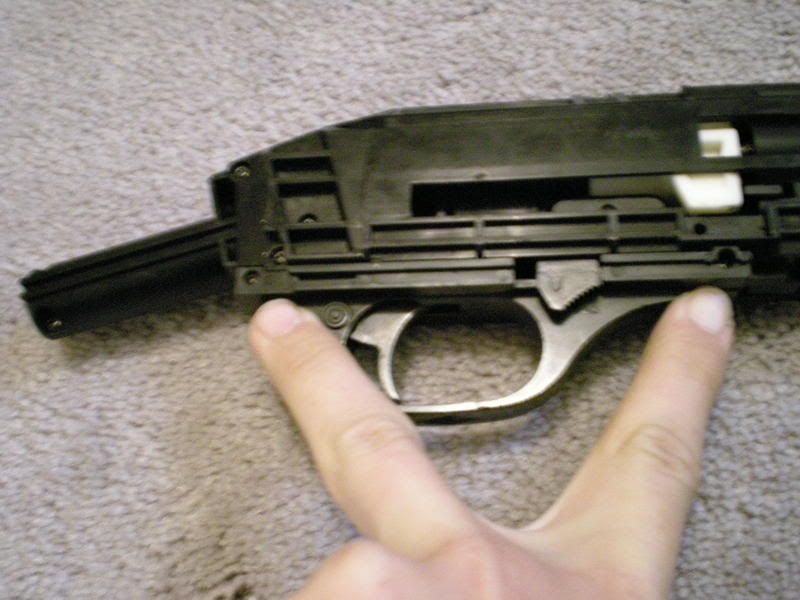
take them out.
Pull the trigger guard straight down.

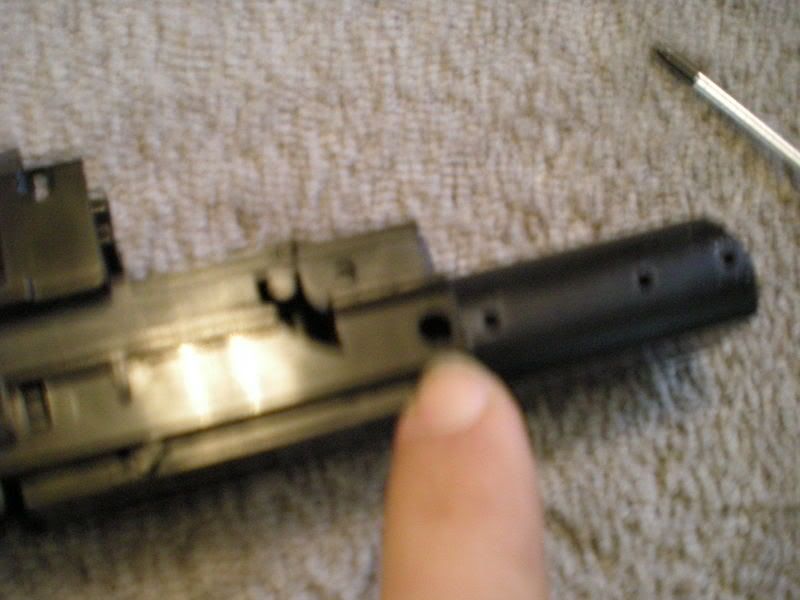
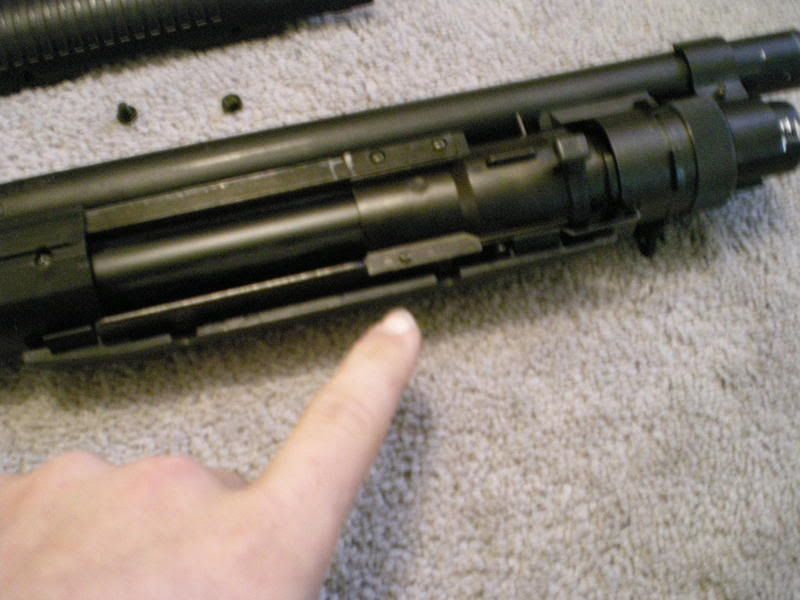
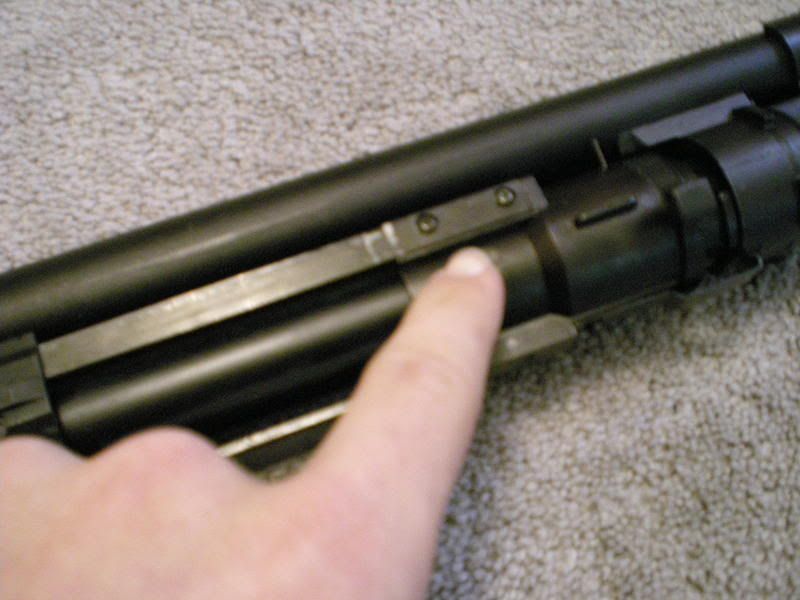
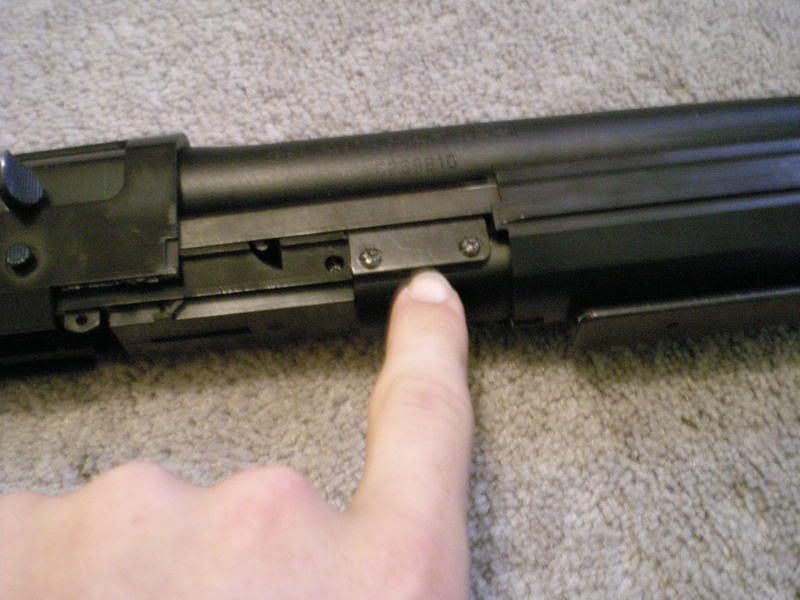
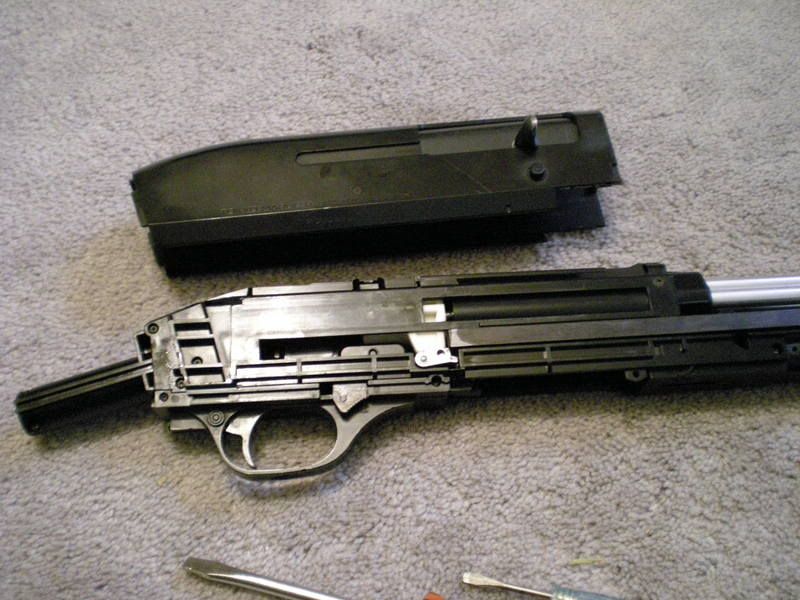
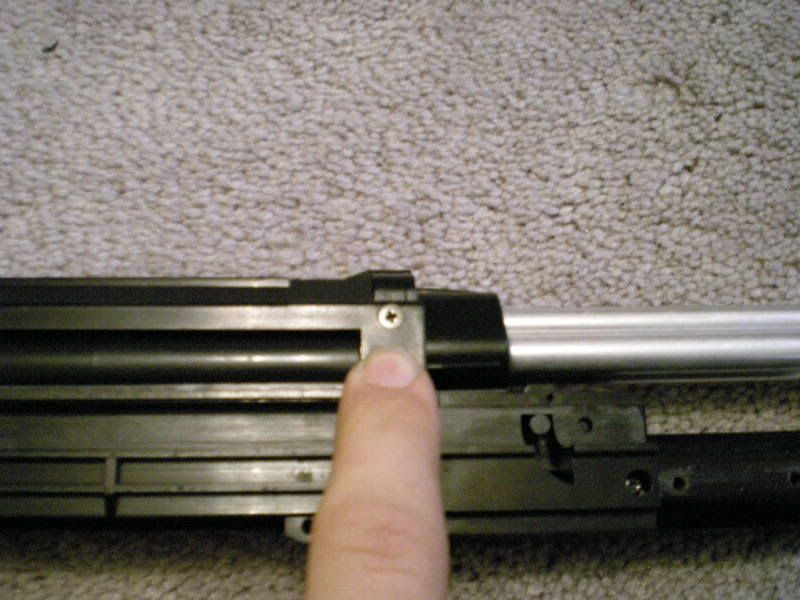
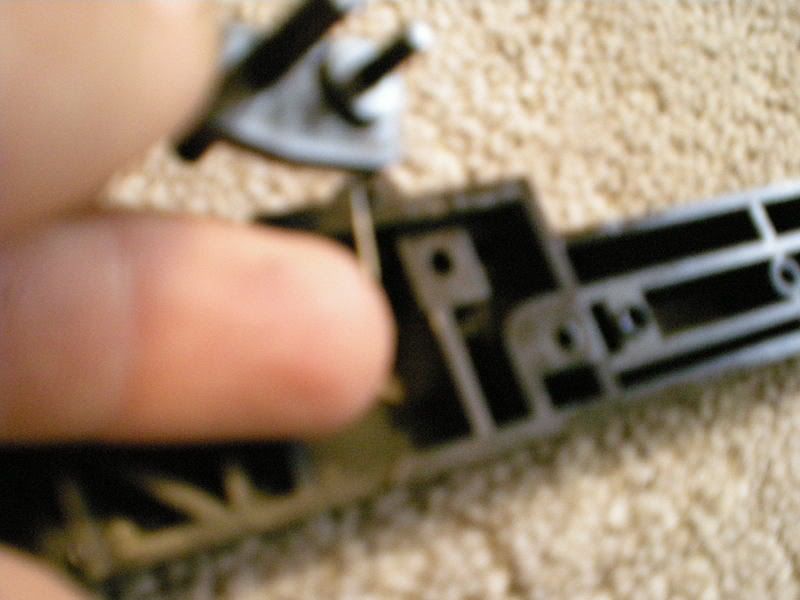
Step Seven:remove the barrels and hopup.
remove the 2 screws that hold this on.
now slide it forward and slightly up to get over the little bump infront of it.
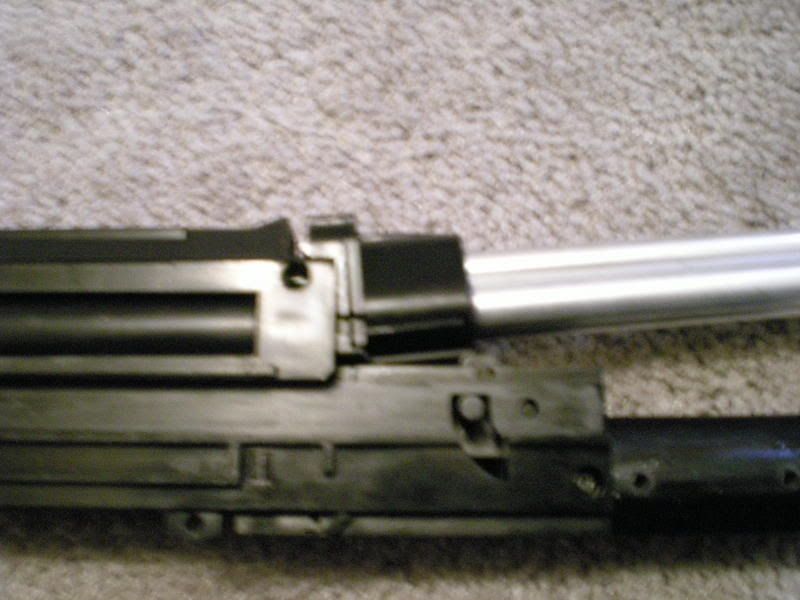
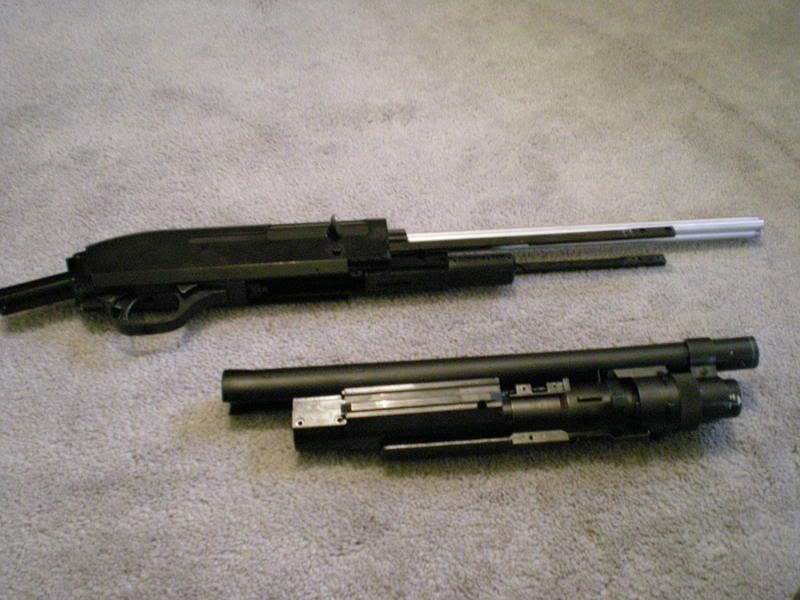
You should have this now.
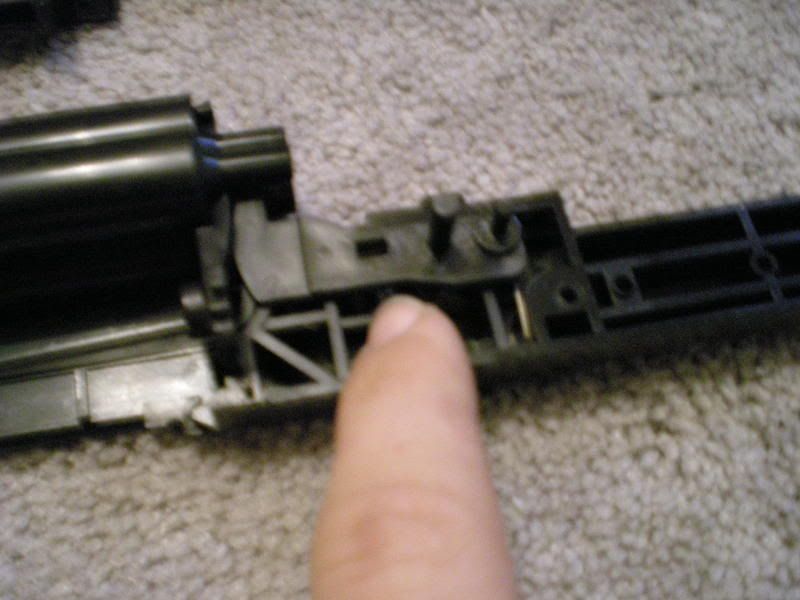
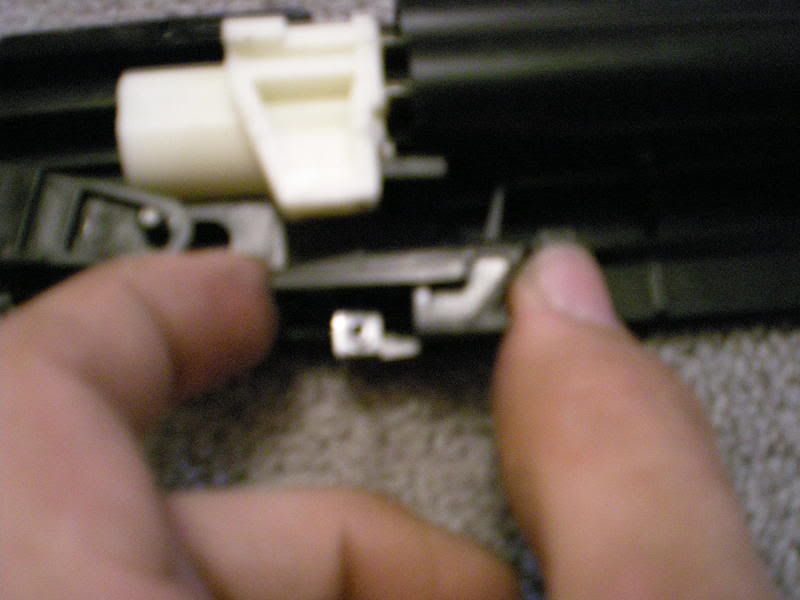
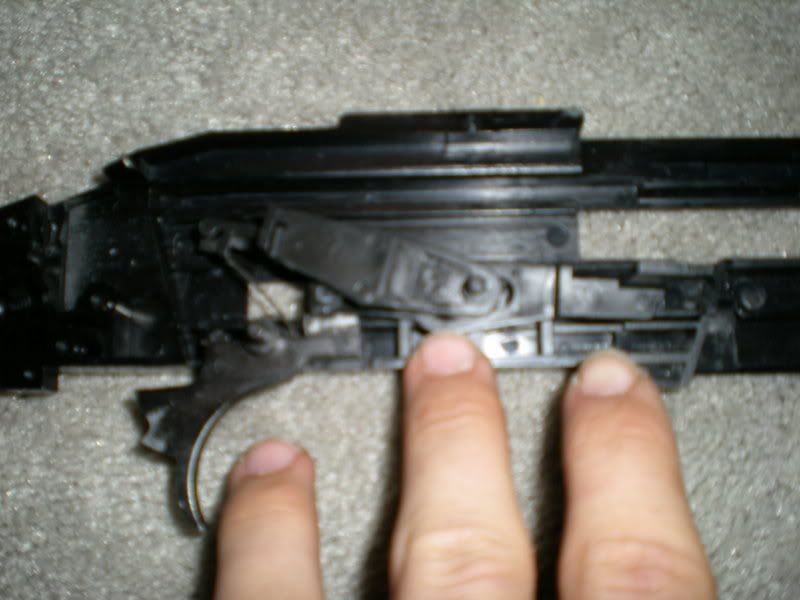
Step Eight:take apart the internals.
there are 3 smal phillups screws,

and 4 very small torx screws that need to come out.
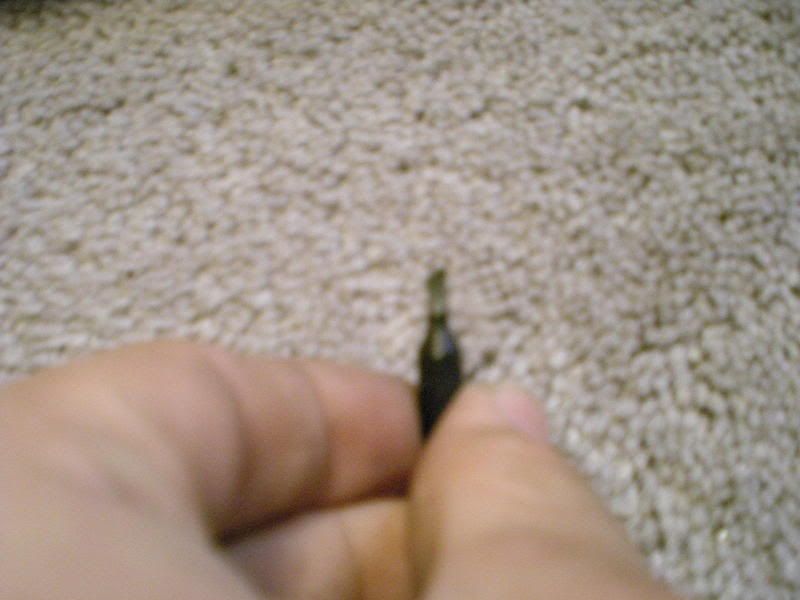
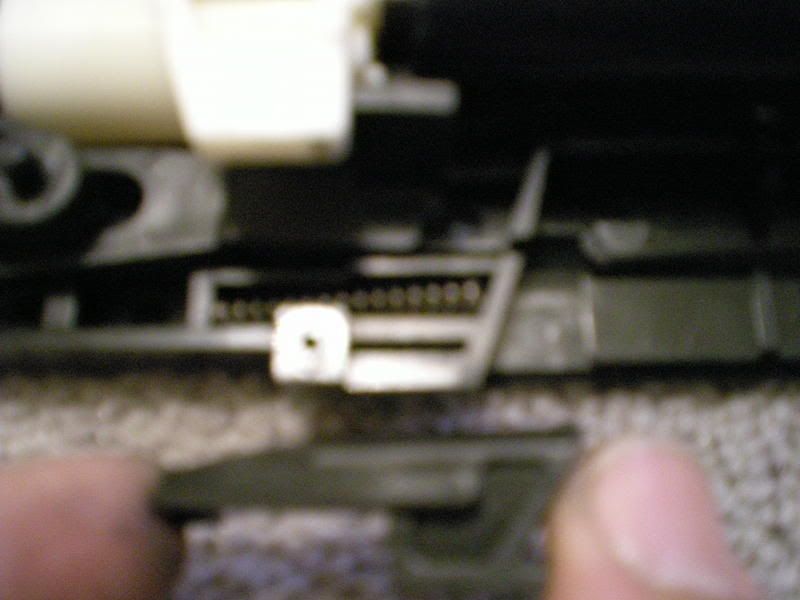
I dont have a Torx bit small enough for these so I use this broken standard bit.
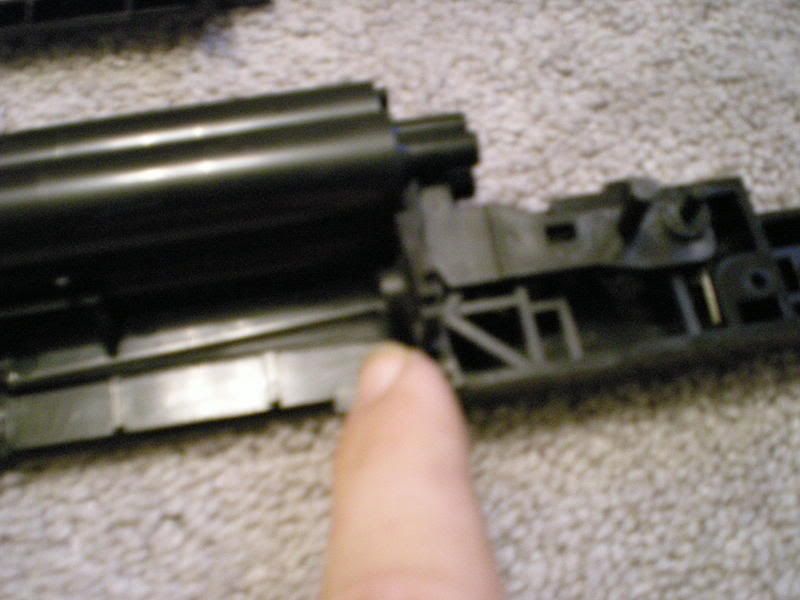
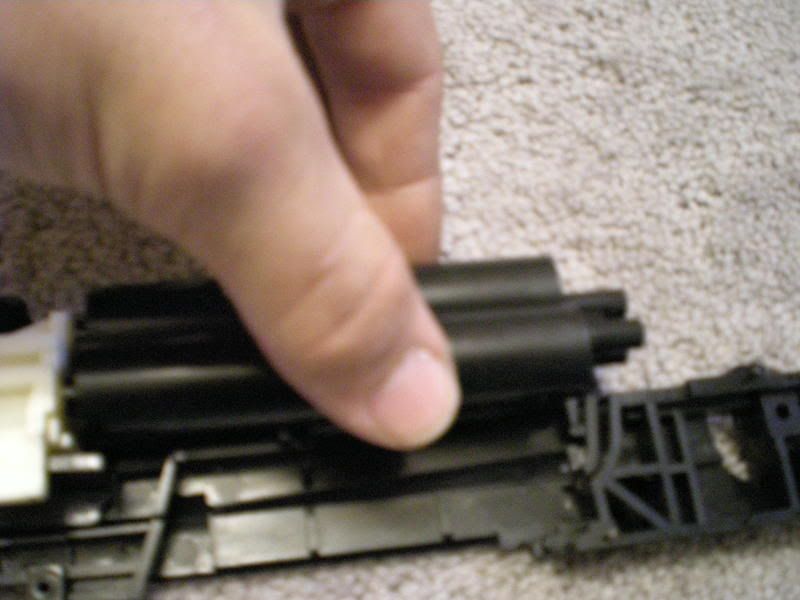
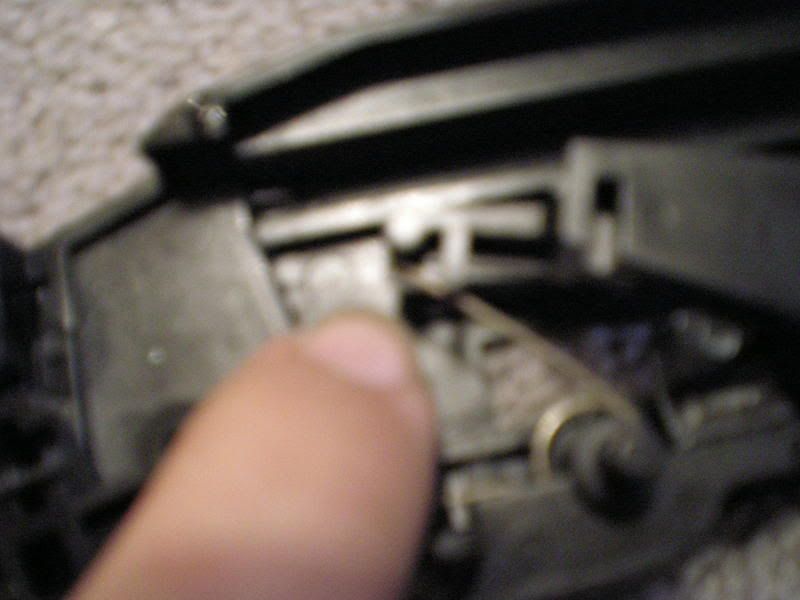
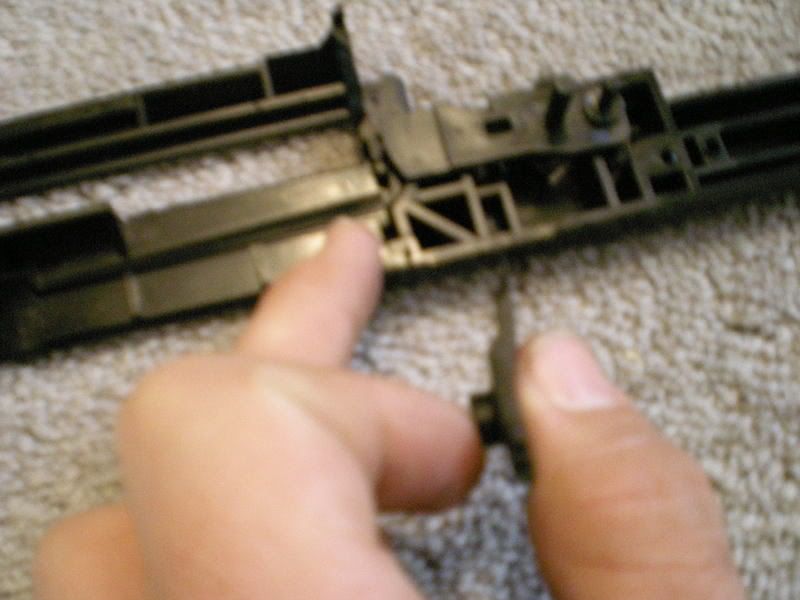
Step Nine:Seperate the two halves
use a small standard screwdriver to slowly seperate the two halves.
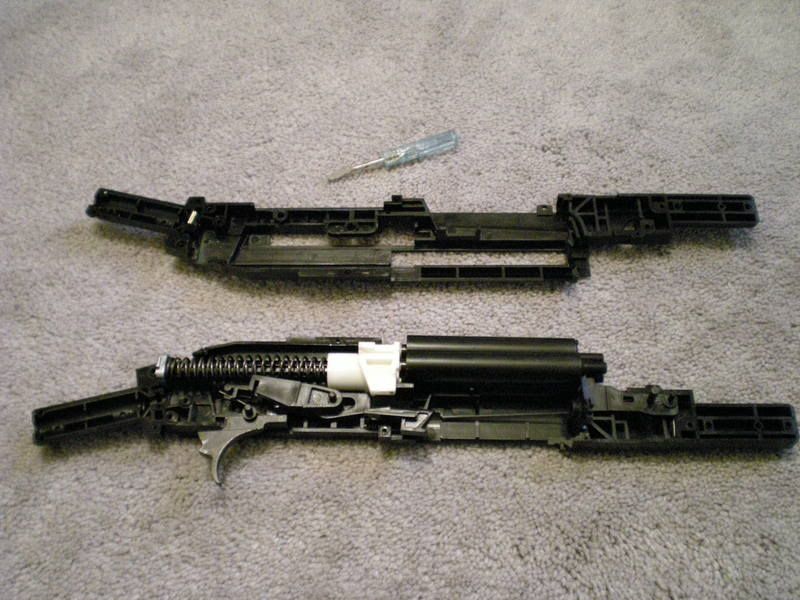
untill you get this.
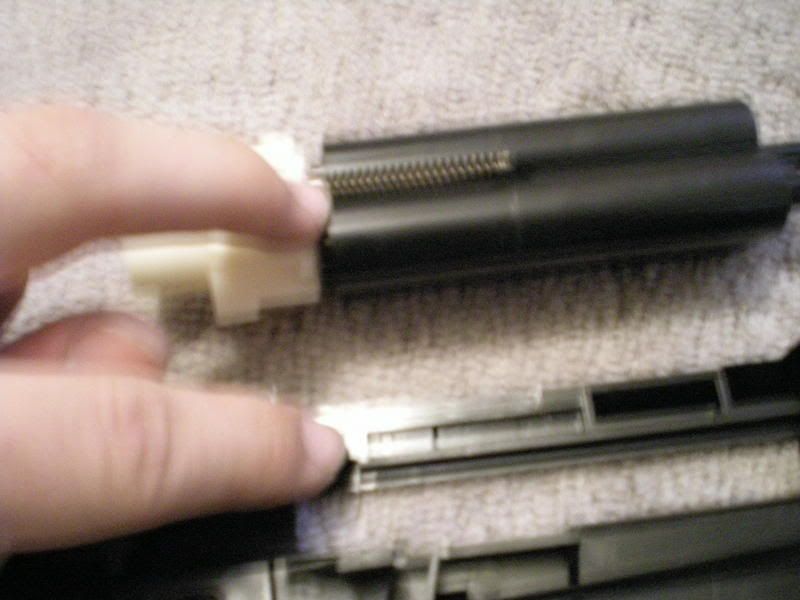
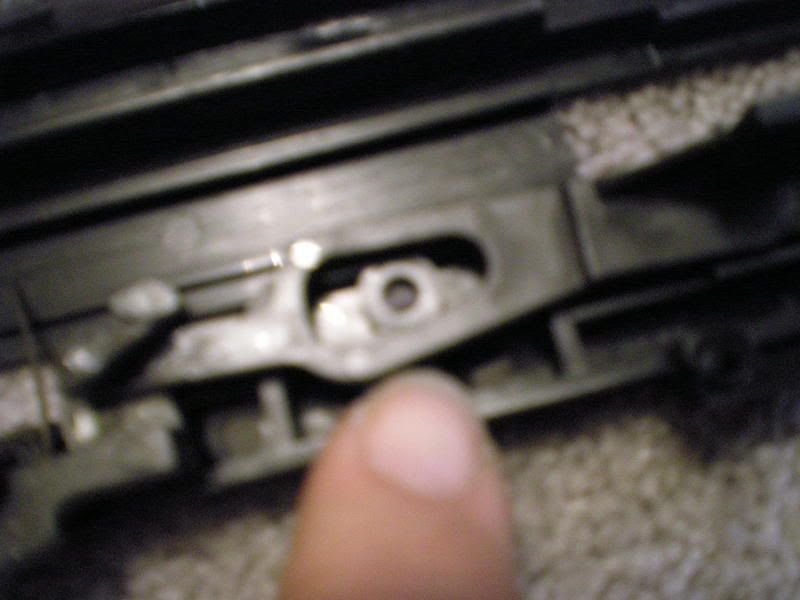
Step Ten:remove the internals.
But first I am going to go through what everything is.
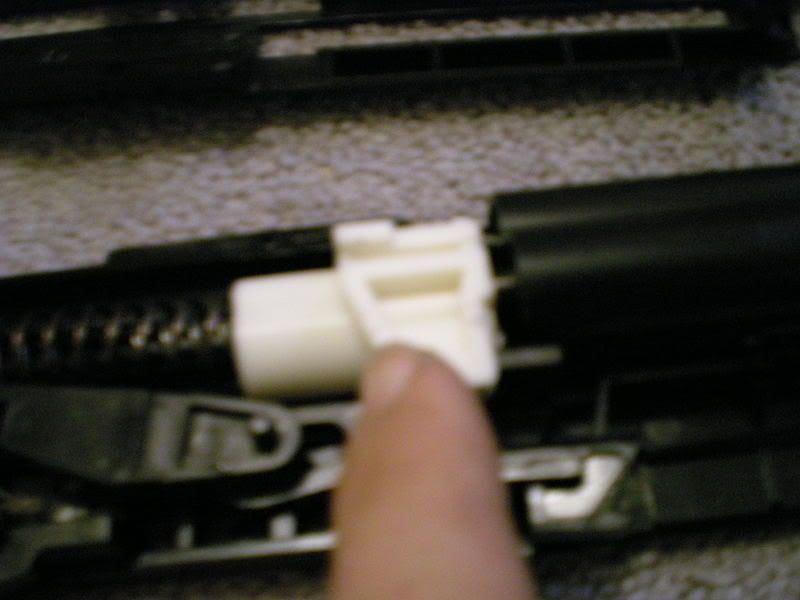
this is part of the feeding system it pushes the BB's into the hopup.
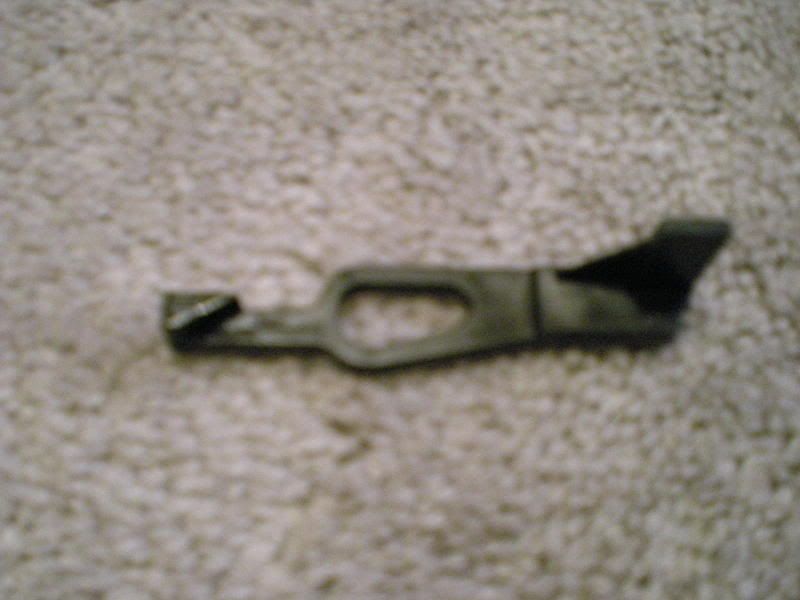
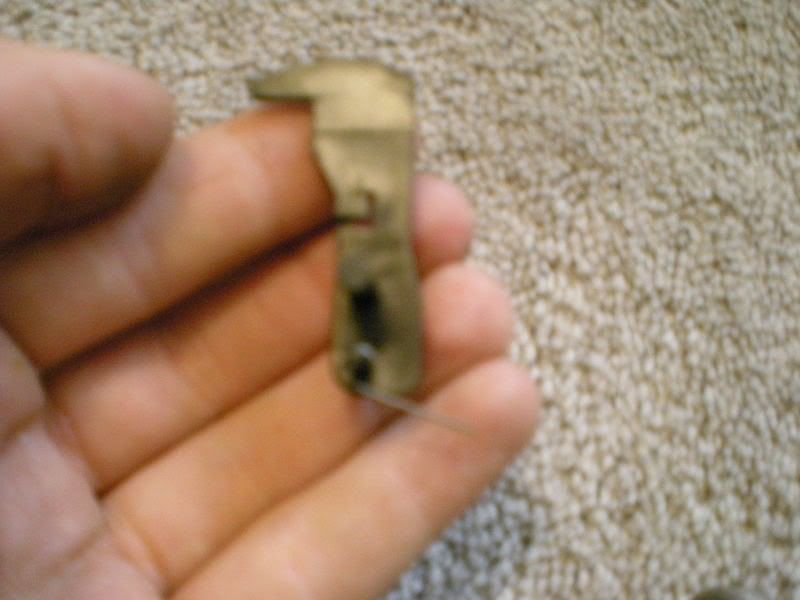
this is what releases the BB's from the shell.
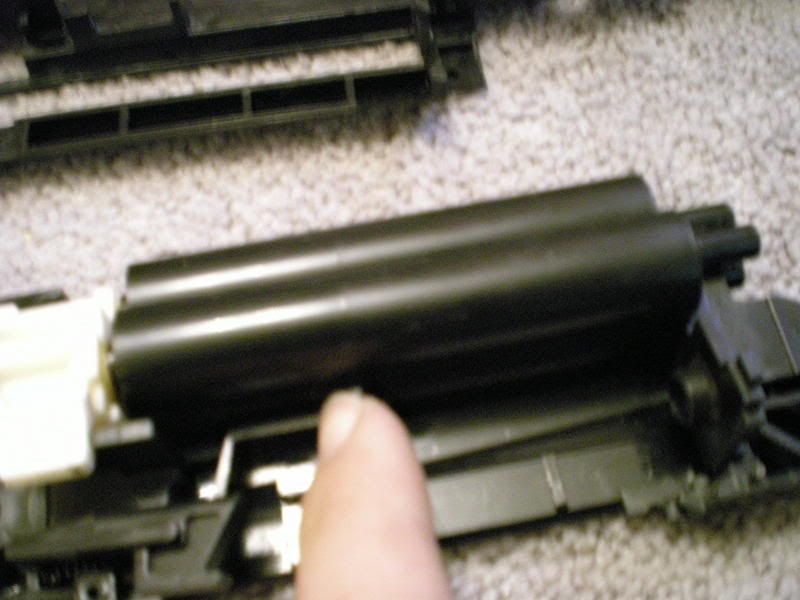
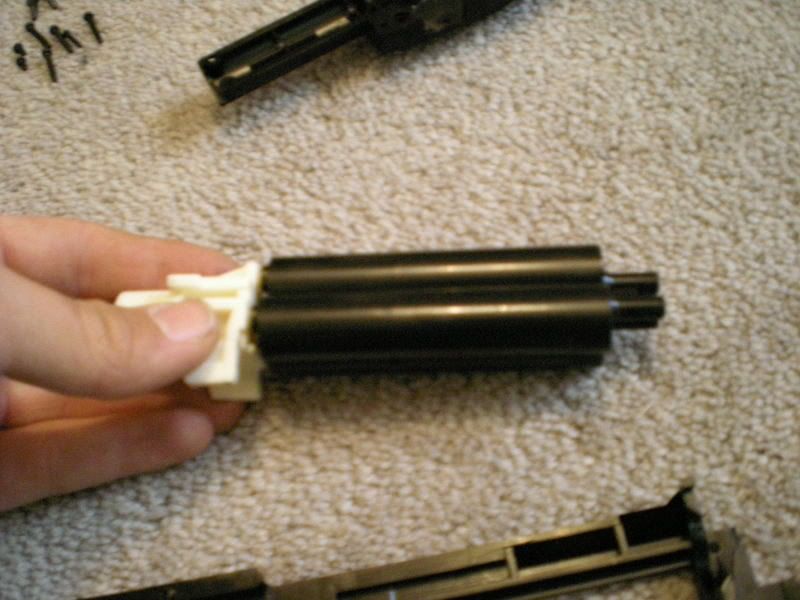
This is your Tri-cylinder.
This is your Tri-piston
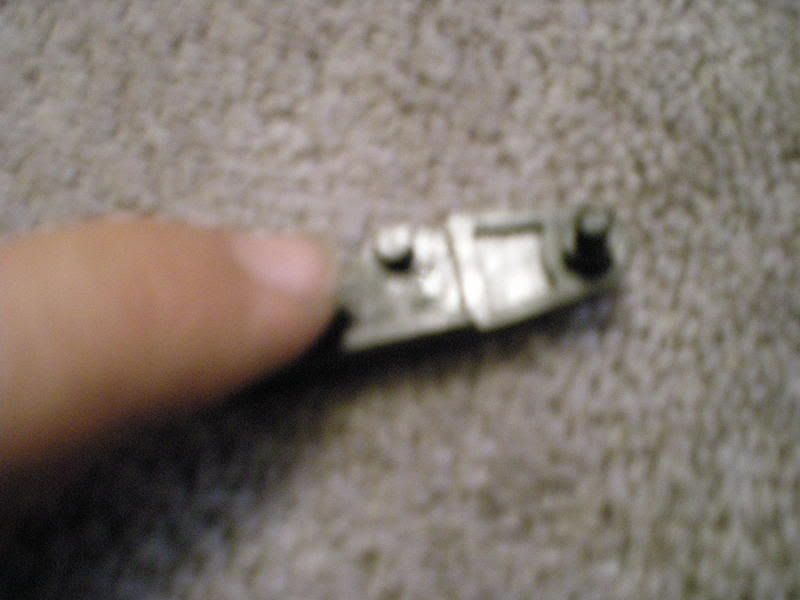
This holds the shells in the gun.
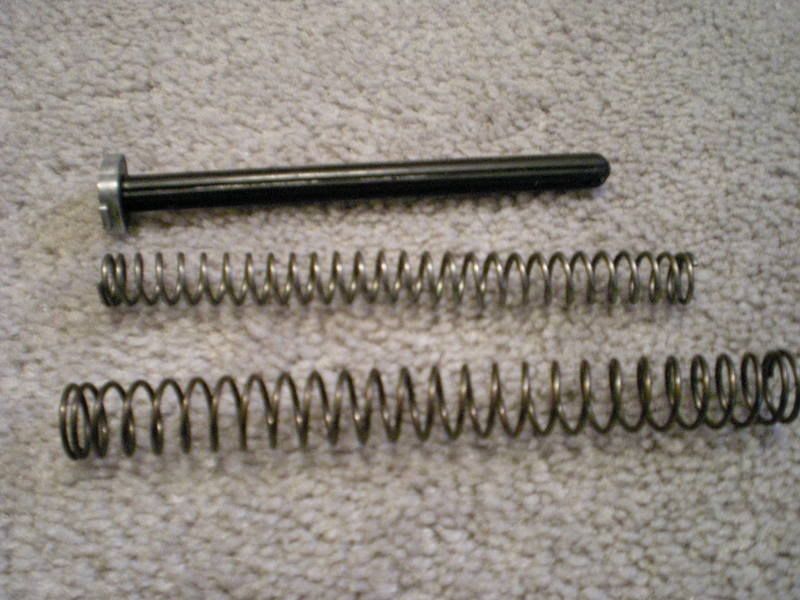
this is the double spring and spring guide.
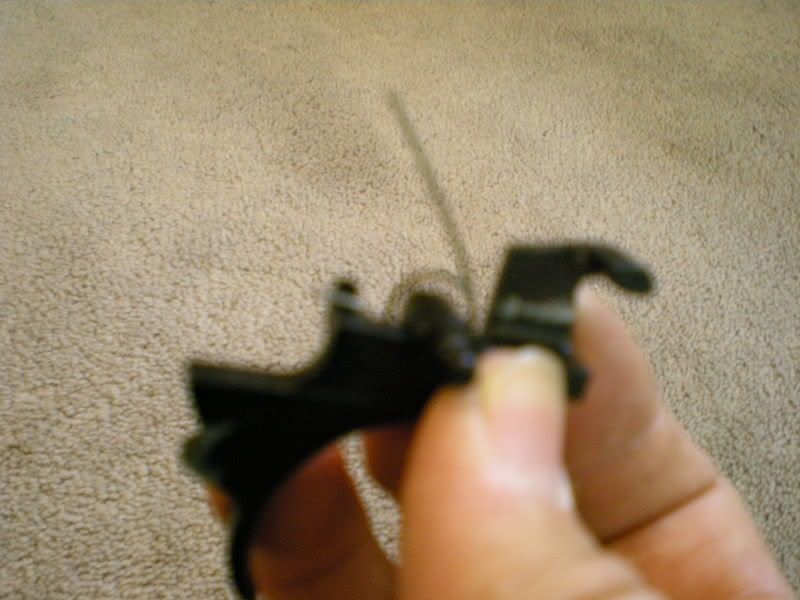
this is your trigger assembly there are 3 parts.
OK lets start taking parts out.
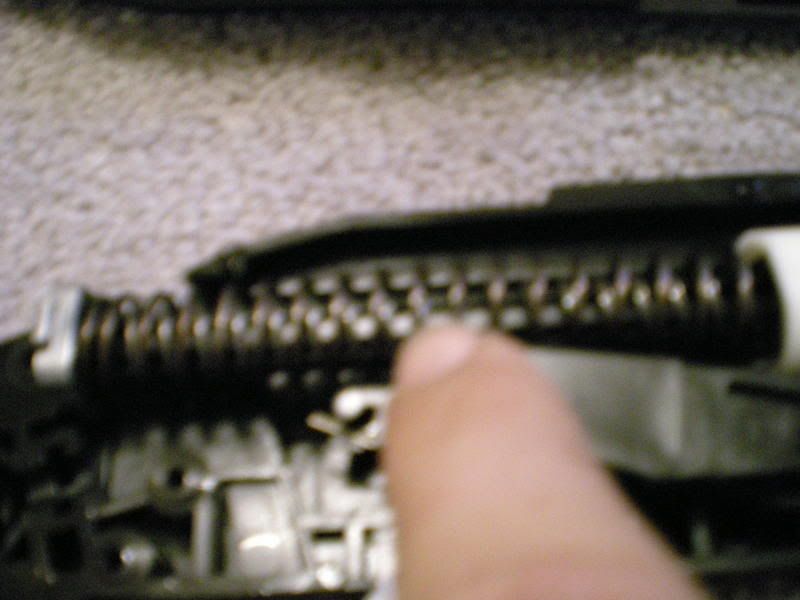
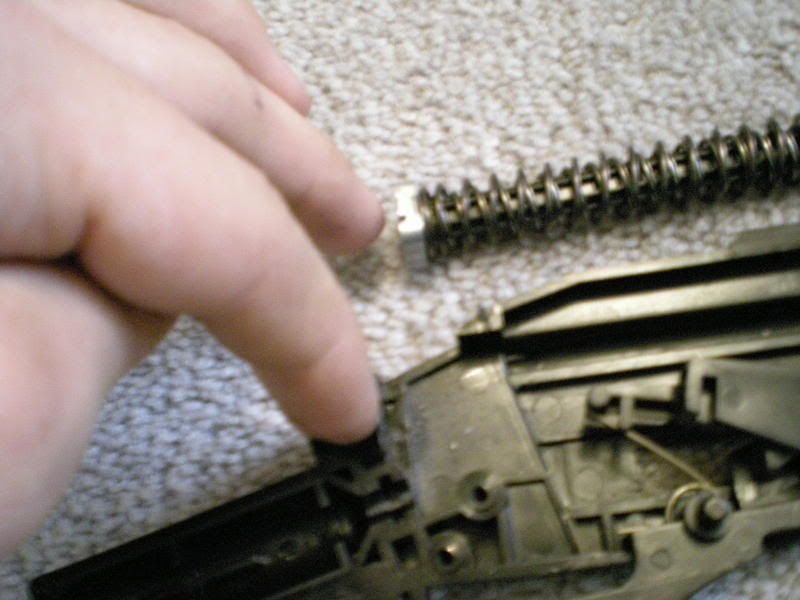
first lets remove the spring's pull the spring guide up and back.
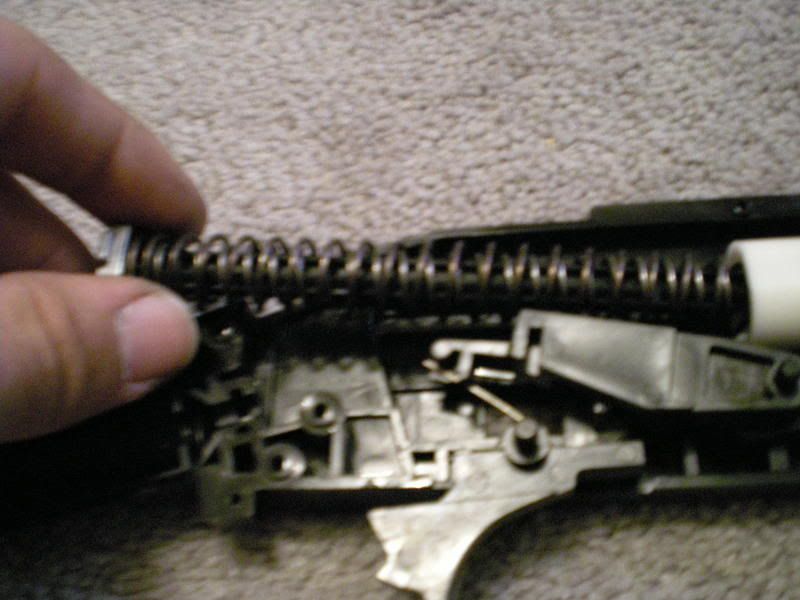
Heres an exploded view of this part.
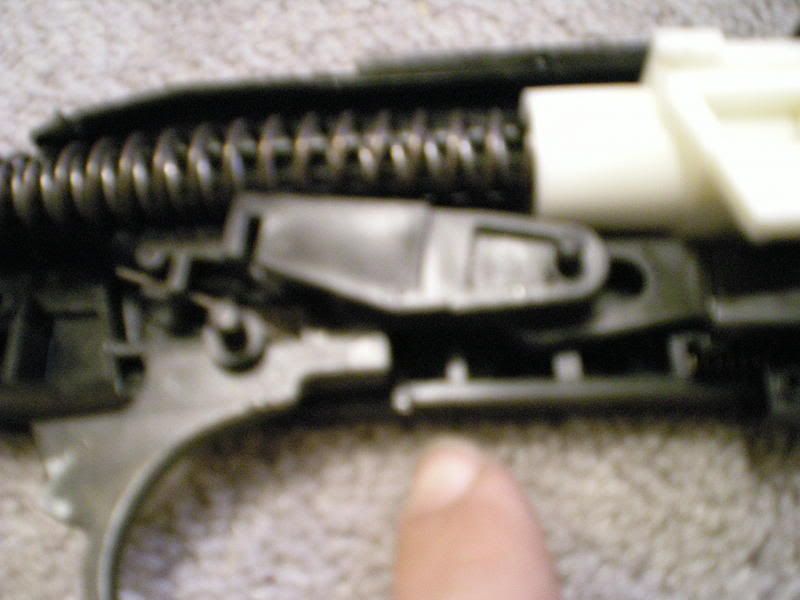
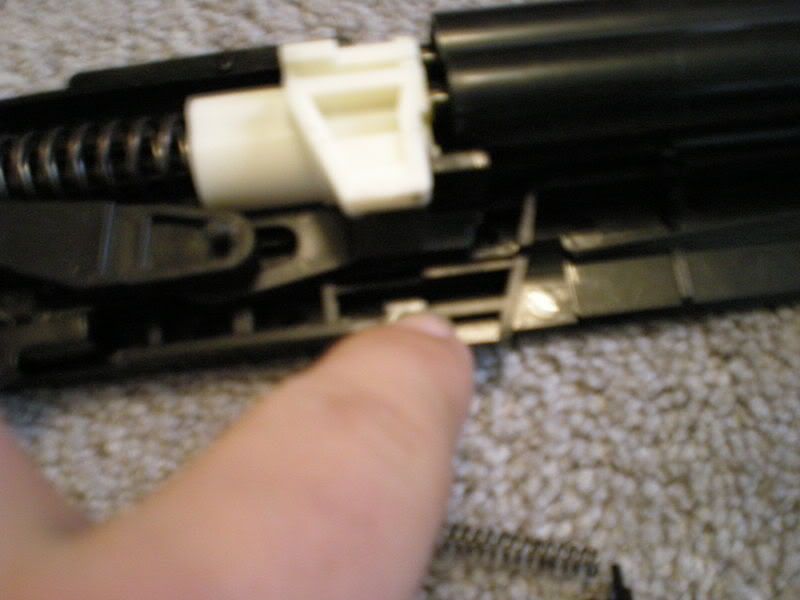
next remove this part simply pull it straight out.
next remove this, ceep track of the spring.
Heres a view of the under side note how the spring goes.
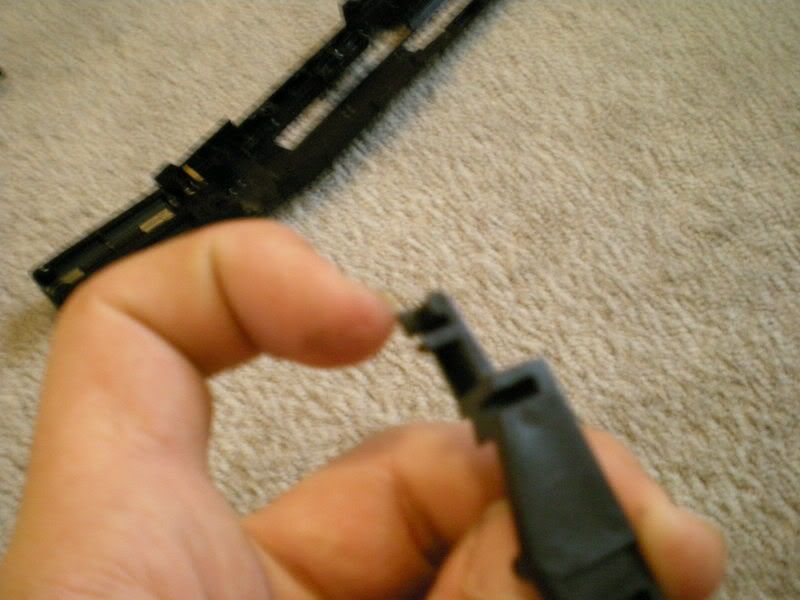
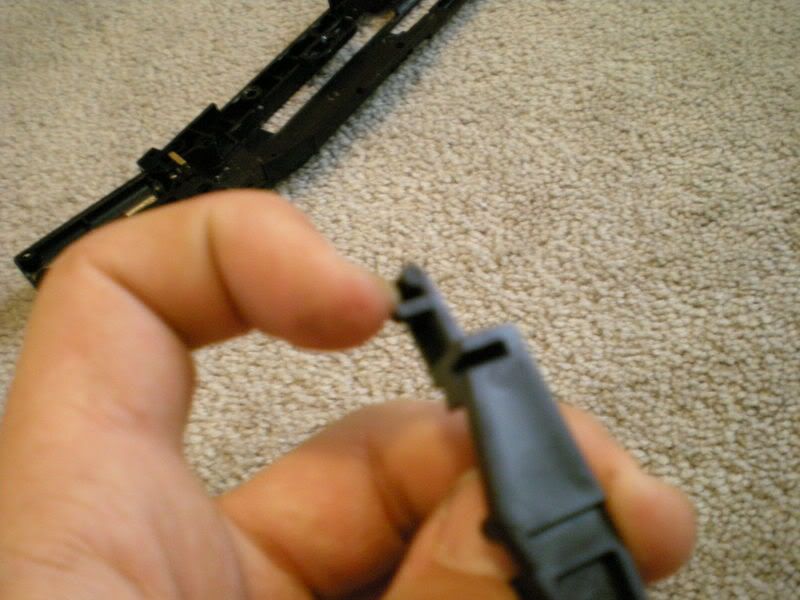
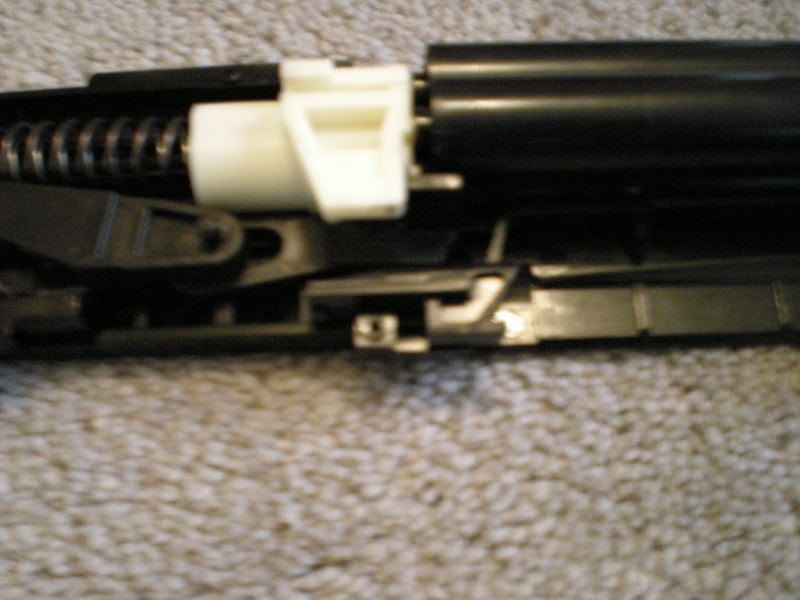
Now remove the shell holder just pull up.
dont forget its spring.
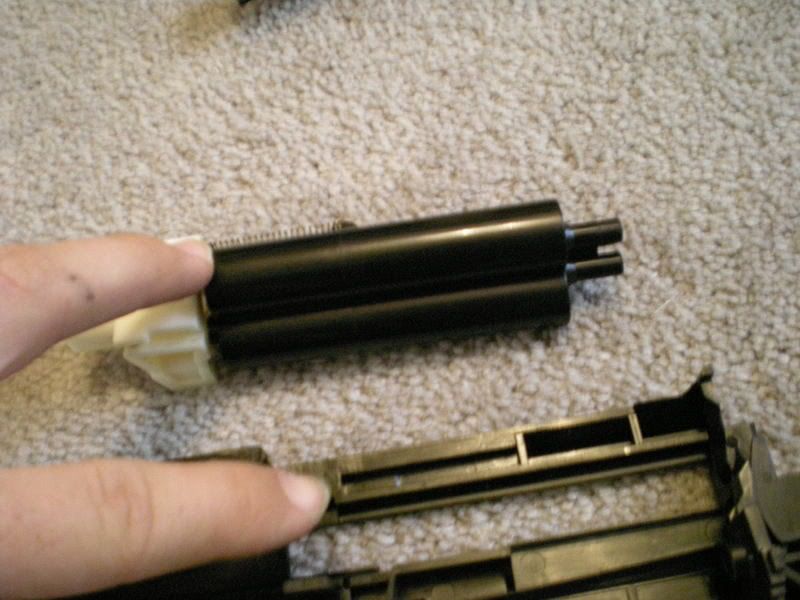
ok lets take out the pistons and cylinder, take the front end out firstand the pull up and out.
this spring goes in this slot.
this is what your triple piston looks like.
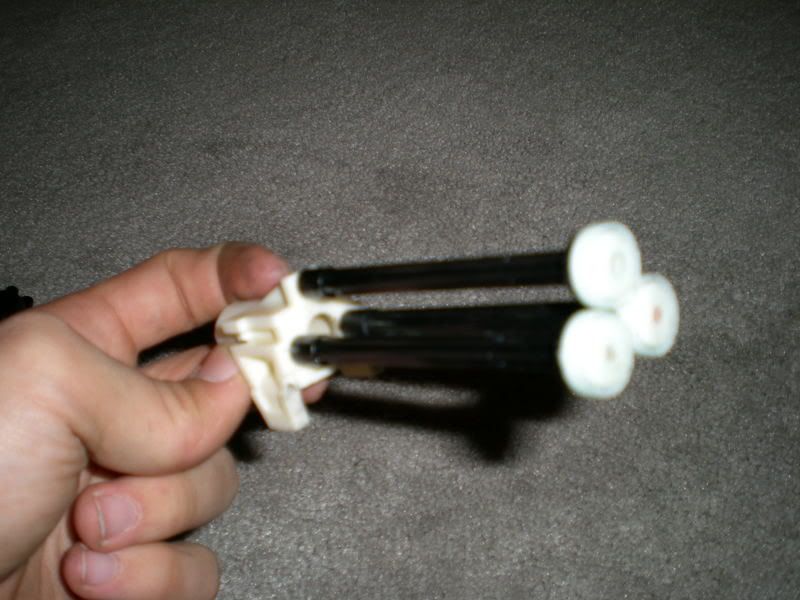
This is what the nozels should look like if they dont look like this your in trouble.
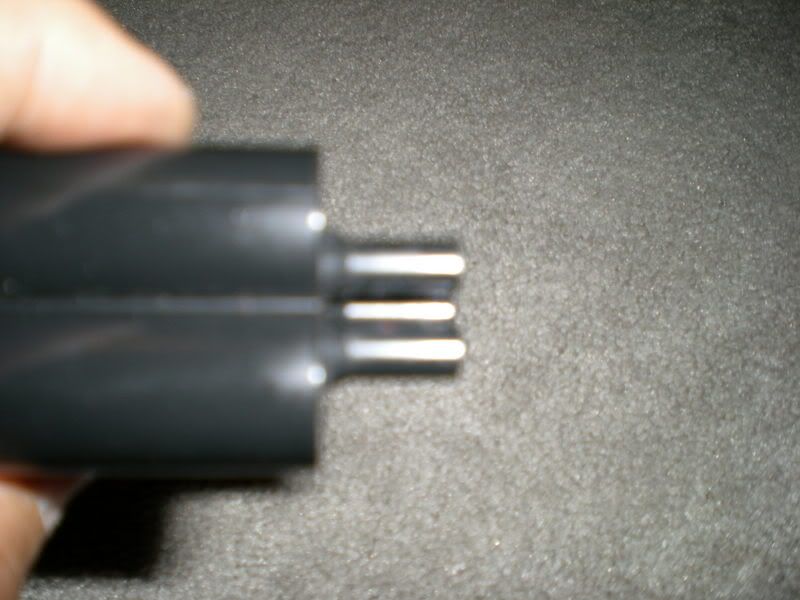
View from bottom.
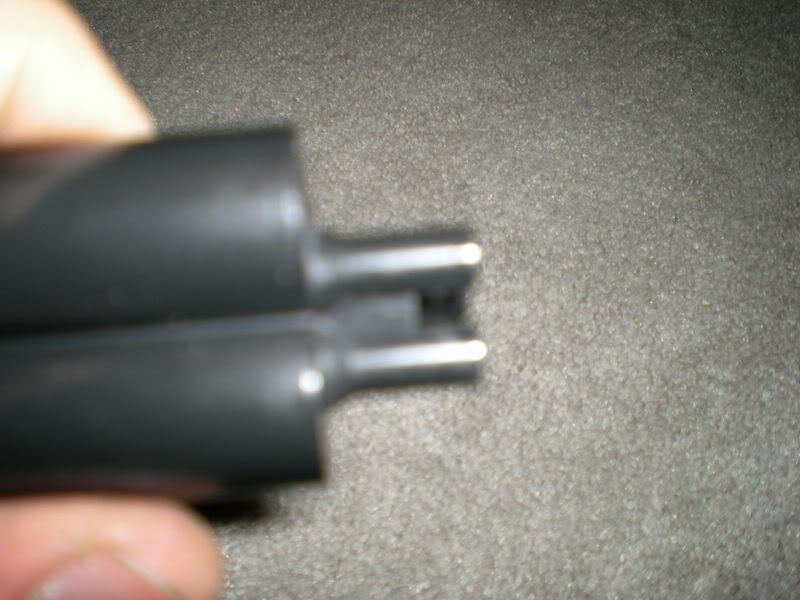
View from side.
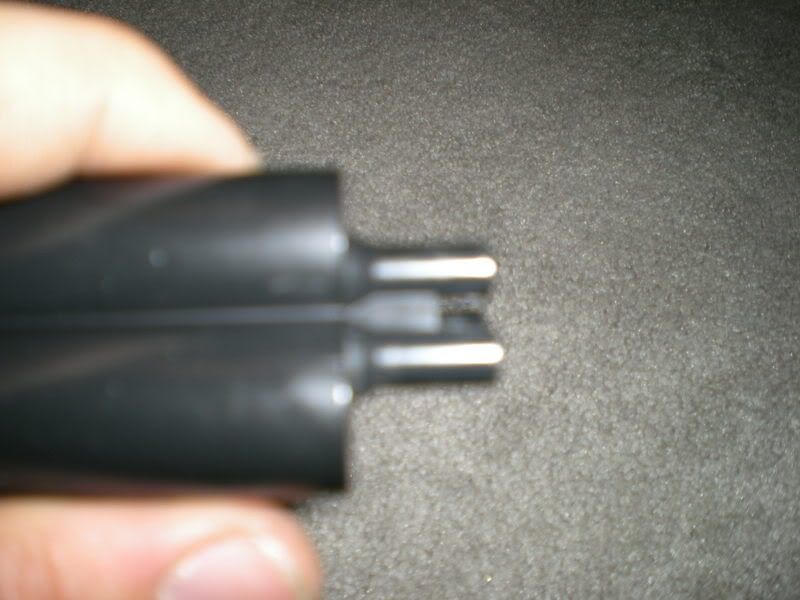
View from other side.
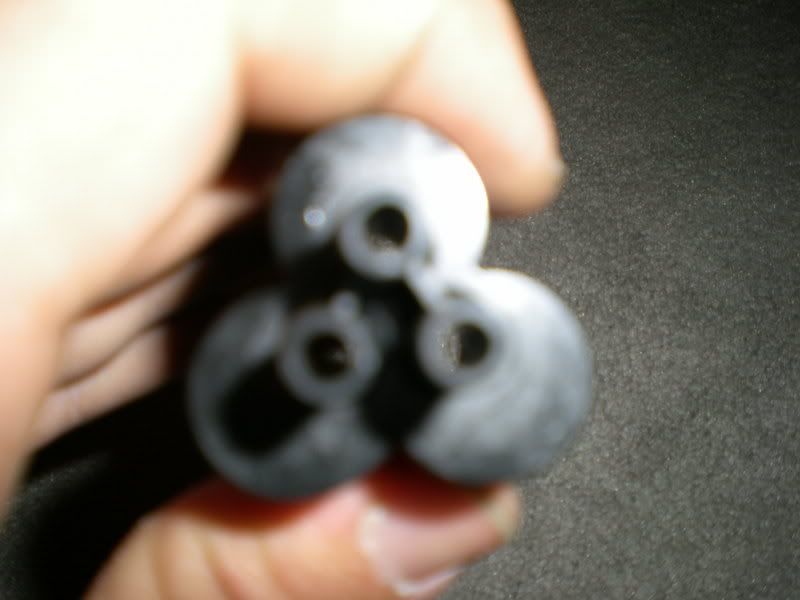
View from front.
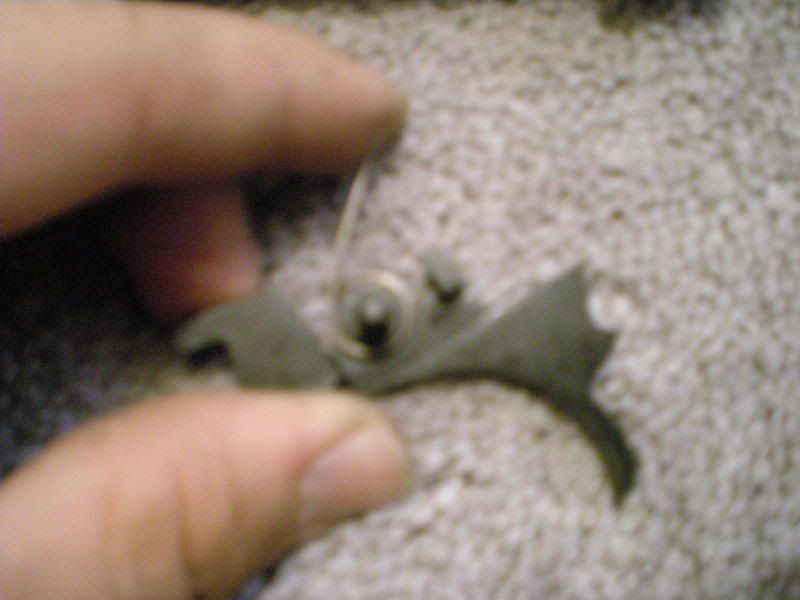
Ok last but not least the trigger assembly there are 3 pieces.
see how the spring pushes this part up, the spring goes ontop of the peg on the end and under the one just in from there.
this is where the top part pivots.

In this hole and throught part 2.
see how the trigger and part 2 have pegs that stick up,
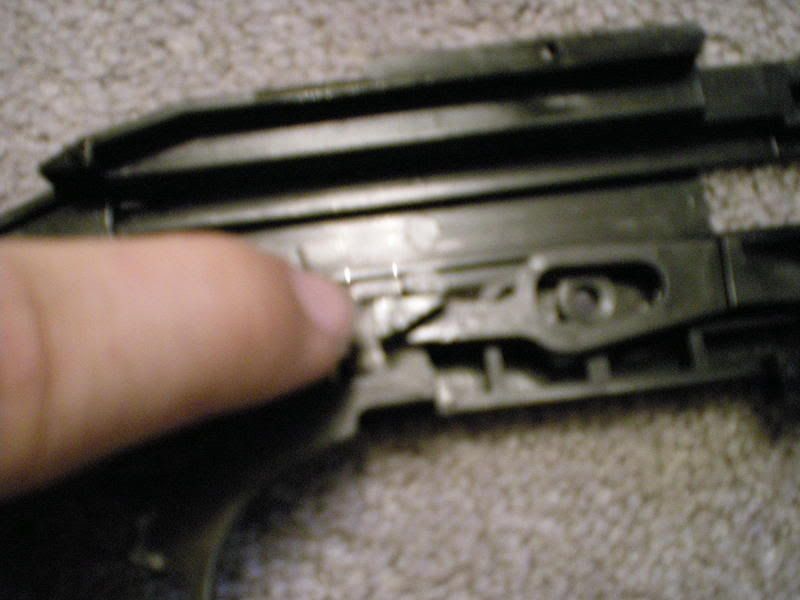
they fit in here on the first piece.
now remove part 2.
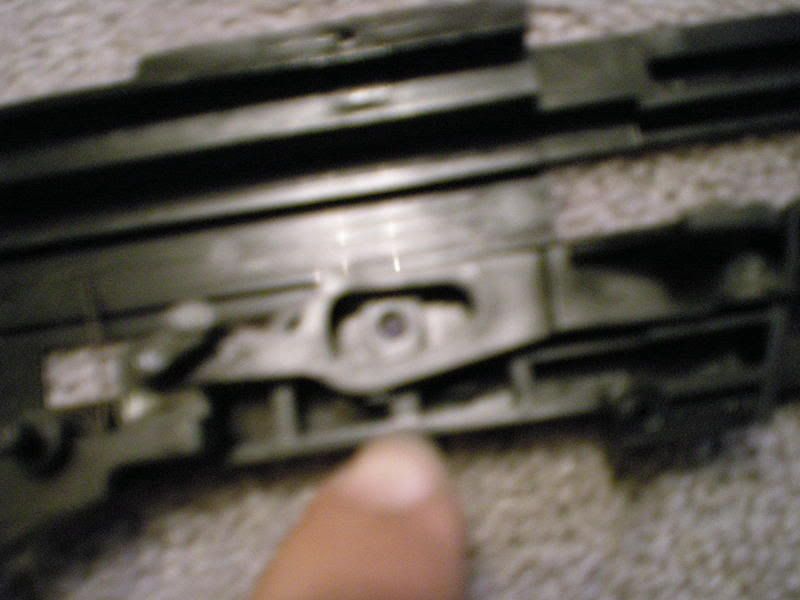
it looks like this.
now remove the trigger, simply pull it straight up.
note how the spring goes.
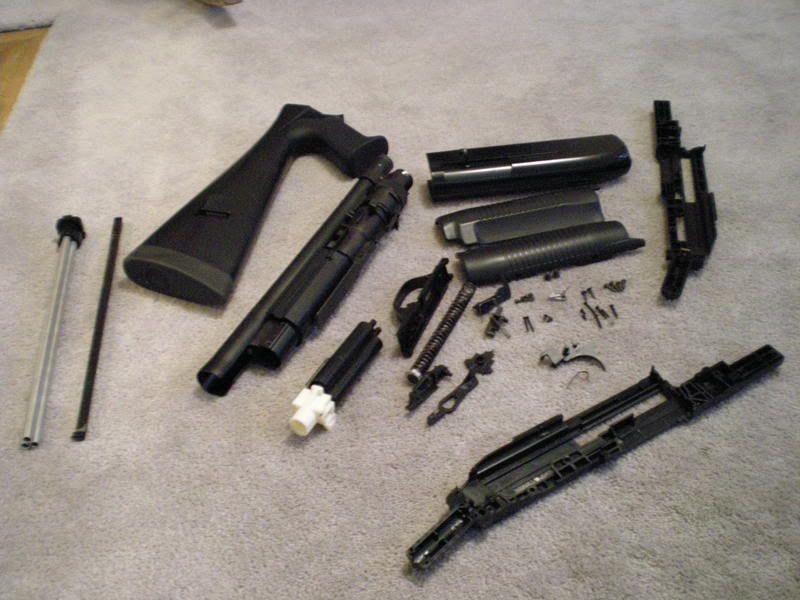
and now you have a pile of parts.
OK reassembly time.
Step ellevenreassemble the inards.
sart with the bottom half of the inside box.
then add the trigger. See how the spring is on the top of that little tab.
then install the second part of the rigger unit.
Like so.
now the third pice of the trigger unit. the sprin on the trigger goes over this tab,
and under this tab.
Step twelve
now lets put the rest of the inards back together, lets start with this pat of the feeding mechanism.
this peg goes in this hole.
and the spring catches this edge on the plastic.
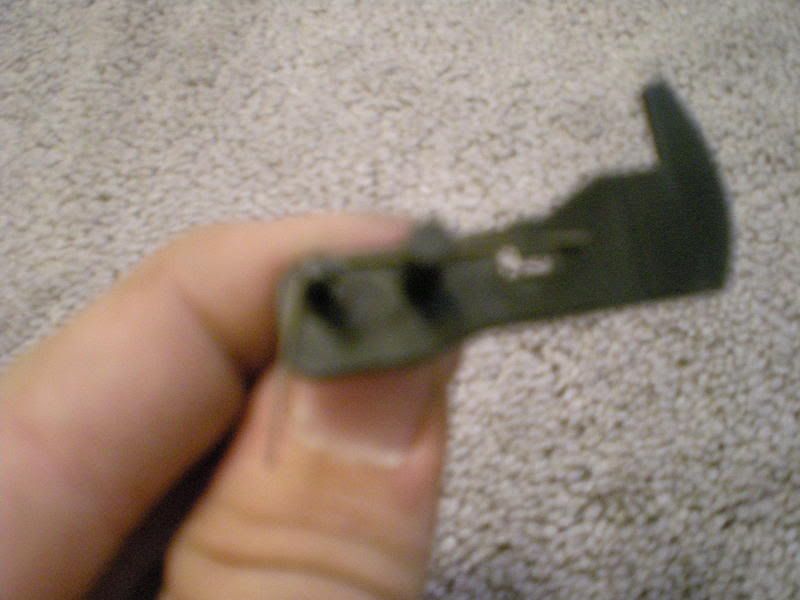
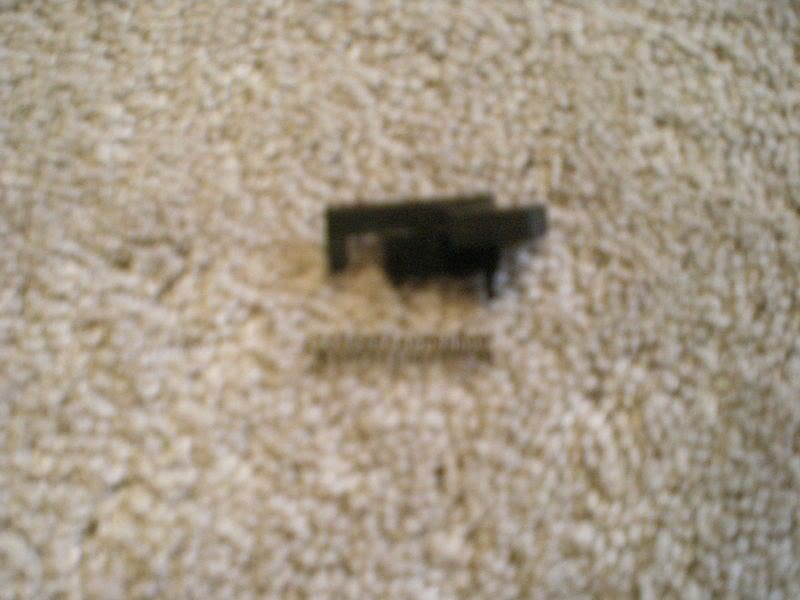
now the BB releaser
the tabs on the side go in the slot here.
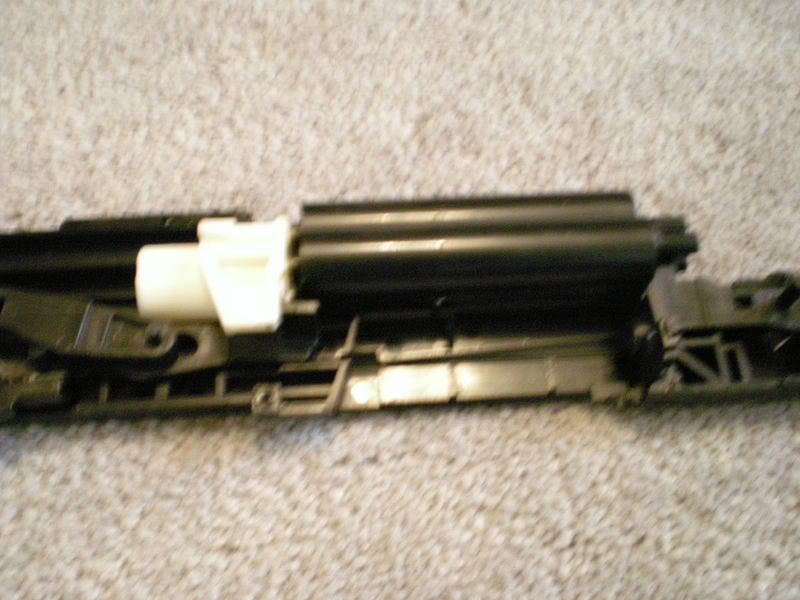
Piston/cylinder asembly.
this spring goes in this slot.
You should be here now
now the spring
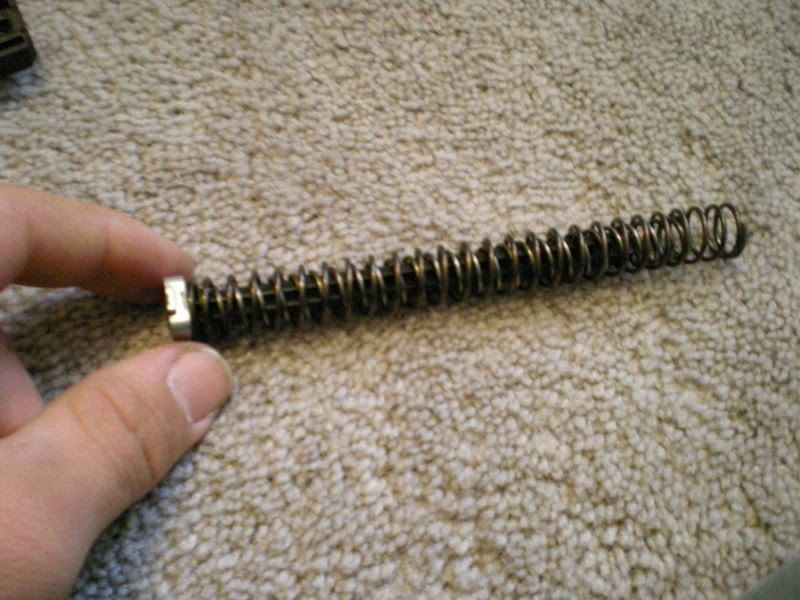
the tabs on the side of the spring guide go in these slots.
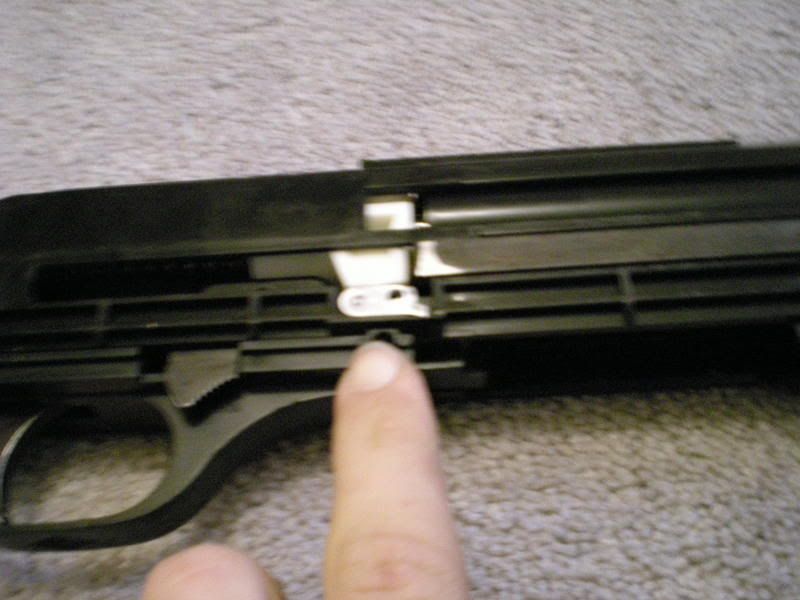
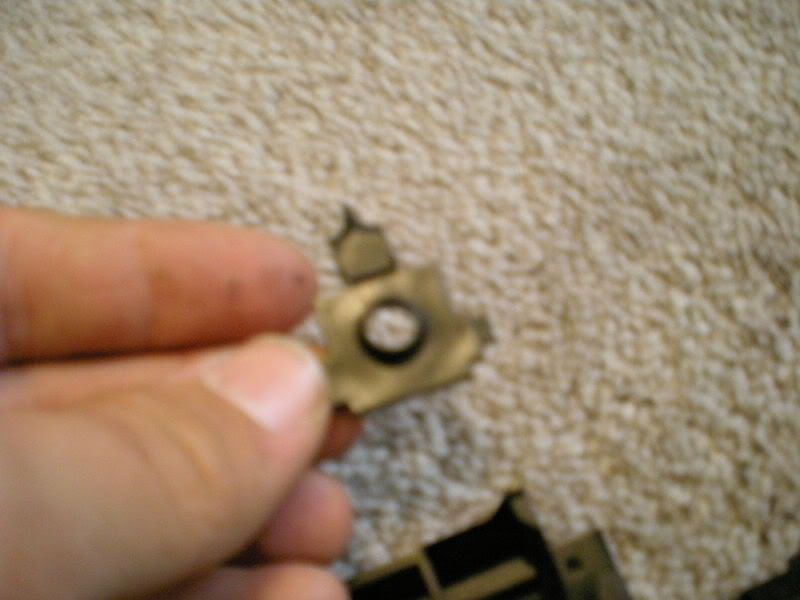
now my least favorite part to install. the mag catch.
it goes in this slot.
now you are here.
now join the 2 halves together.
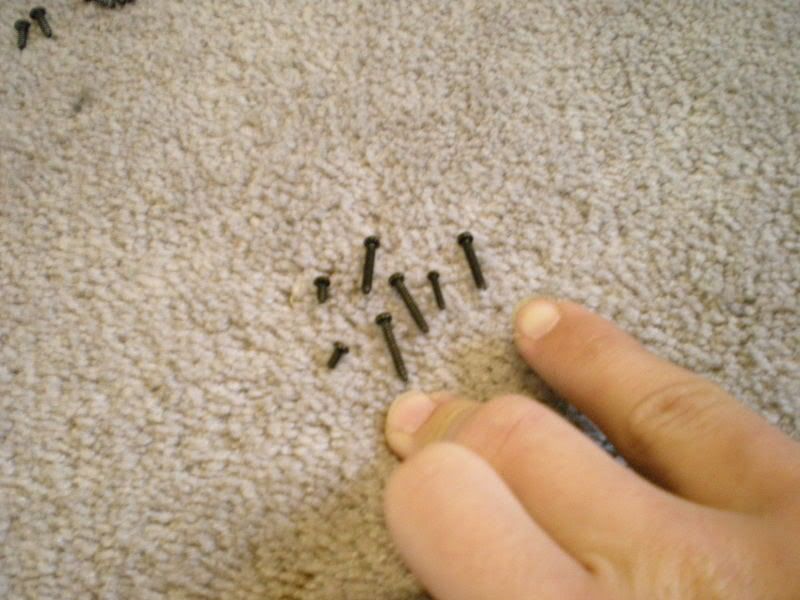
I layout the screws to my guns the way they are located on the gun.
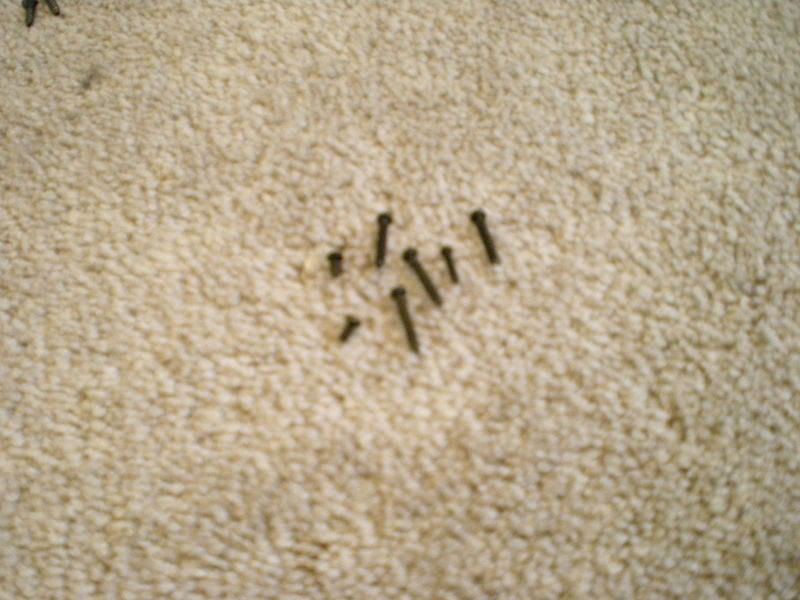
3 phillips
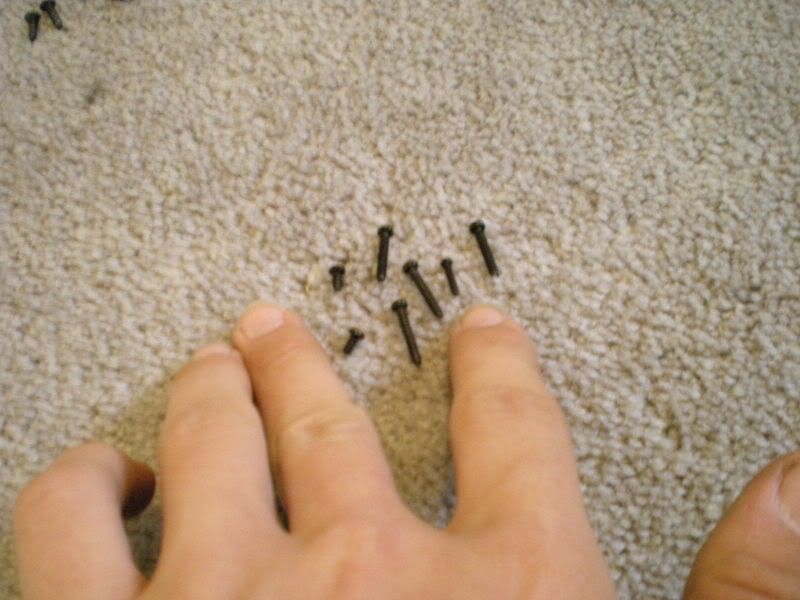
and 4 torx
the smallest 2 phillips go in these 2 holes.

the longer phillips goes here.
and the other torx go here
and here