V1 home made grenade lancher AND VIDEO AND BREAK DOWN!!!!

Discuss airsoft shotguns, launchers, and other related equipment.

V1 home made grenade lancher AND VIDEO AND BREAK DOWN!!!!

Postby Gremshaw » Thu Dec 24, 2009 9:48 am

All I have to do is paint it. the gray patches behind the barrel are epoxy that i put on each side of the gun because the barrel was wider than the wood. the gray on the barrel is also epoxy i formed it by wrapping the barrel in saran wrap(did i spell that right?). then i squeezed the epoxy into the gap between the barrel and the wood. the epoxy bonded to the wood and the saran wrap and not the barrel then i went back with sander, file, and sand paper to make it look nice. I think the next one I will make will have a much shorter barrel and no stock maybe 1' to 9" in length.
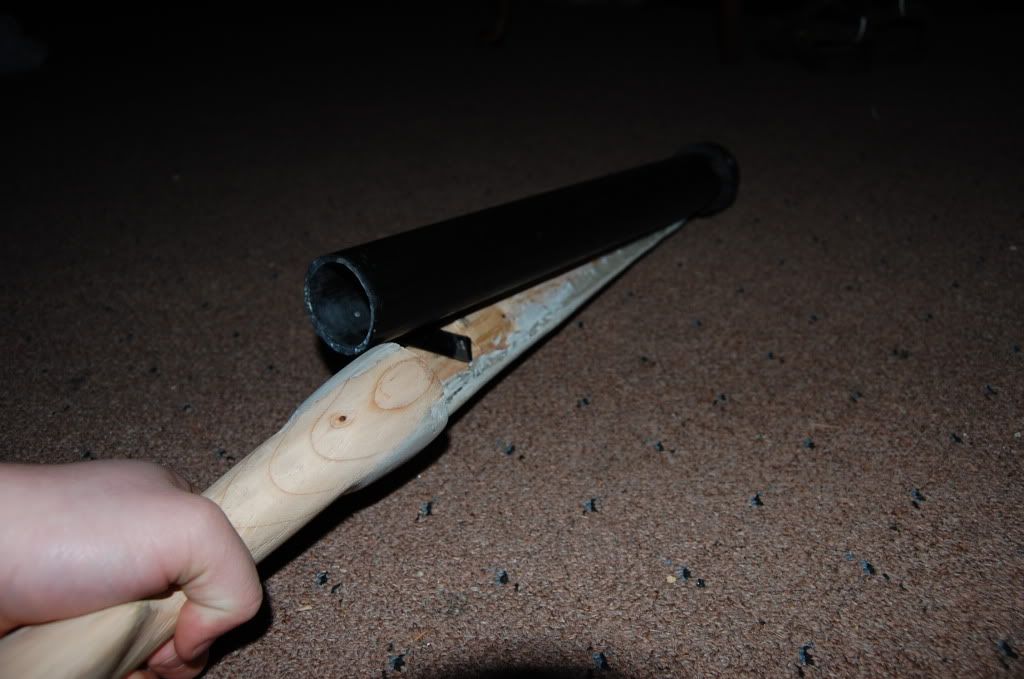
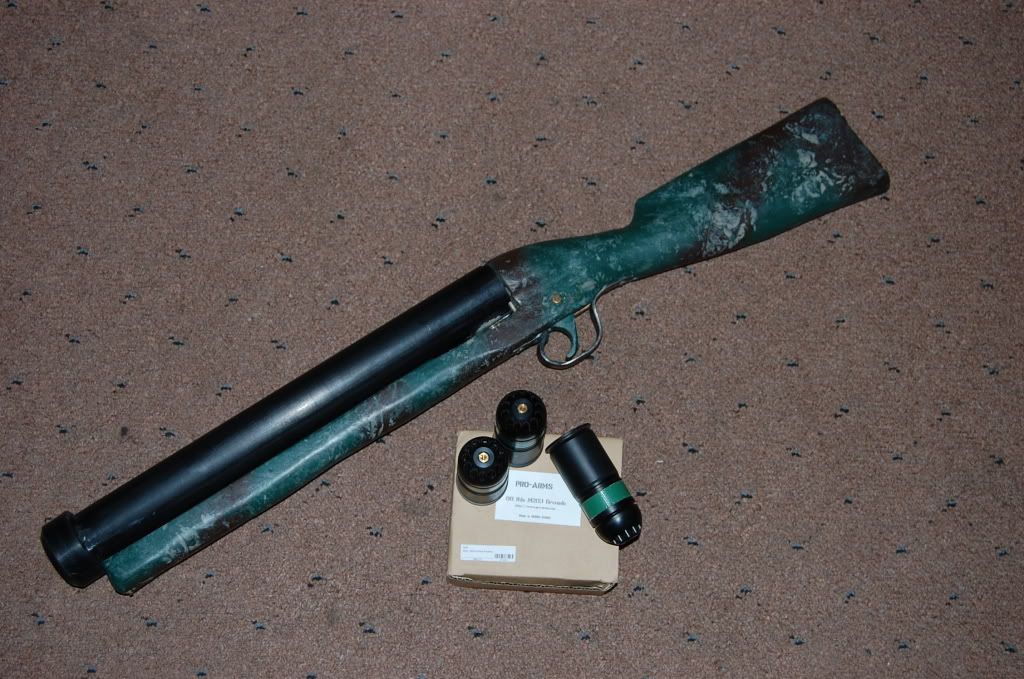
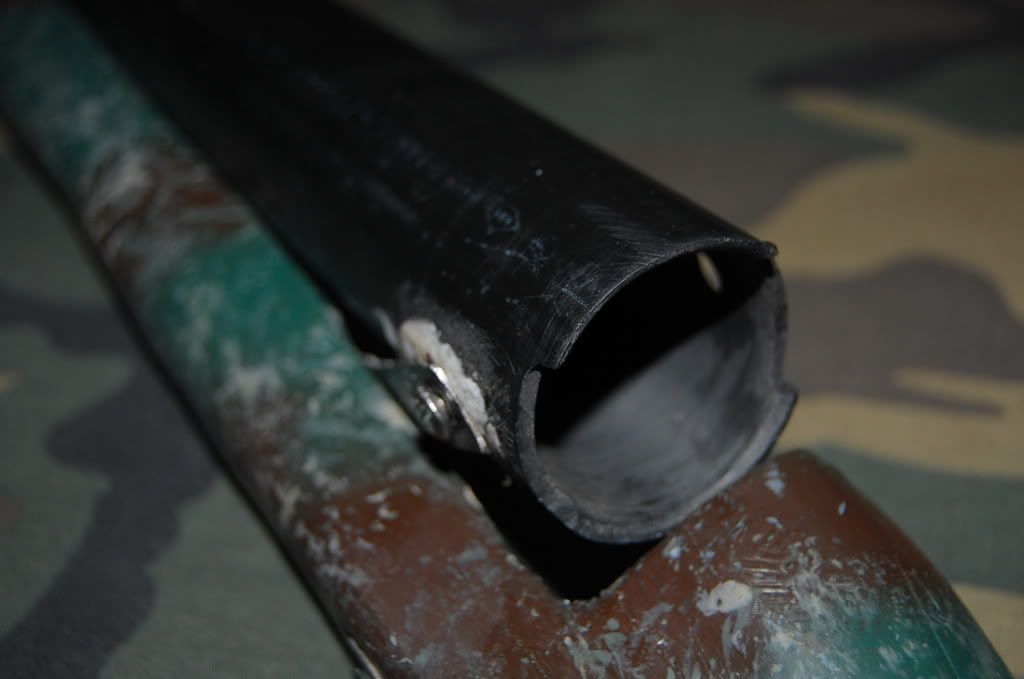
I might creat a Potato cannon barrel that i can switch out. all i would need was a cap on the breach that had the igniter on it.:badgrin:

Image

Image

Image

Image
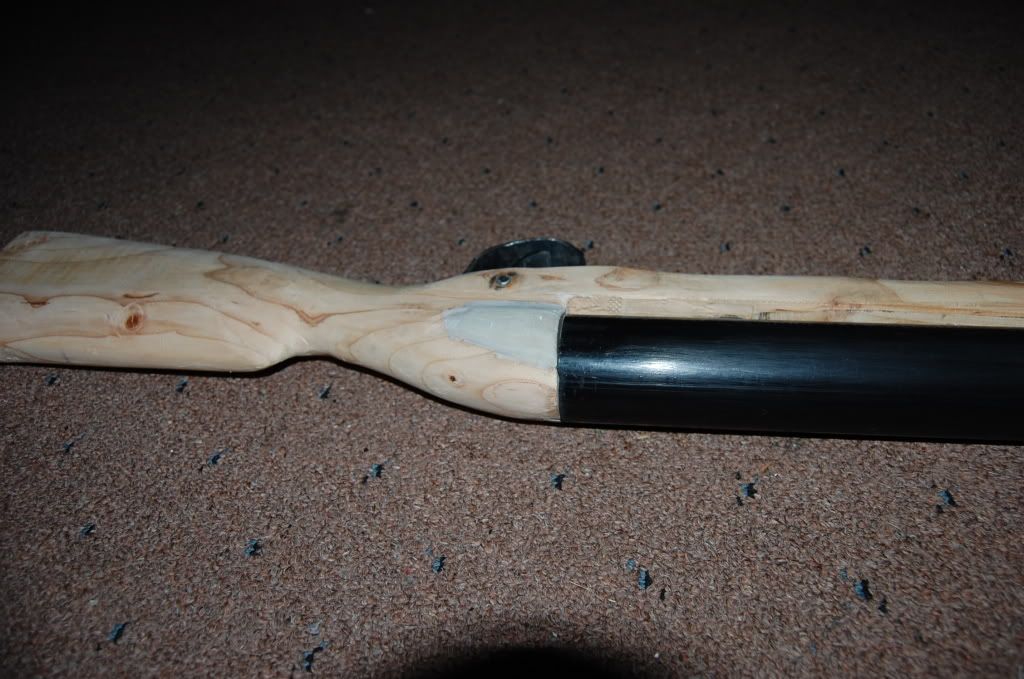
Much better pictures!
Last edited by Gremshaw on Tue May 11, 2010 3:50 pm, edited 3 times in total.
Airsoft: FOR HONOR,FOR GLORY,FOR FUN
User avatar
Gremshaw
Grunt
Grunt
 
Team: Vancouver
Posts: 84
Age: 30
Images: 2
Joined: Sat Oct 10, 2009 1:44 pm
Location: Battle Ground, WA

Postby Gremshaw » Thu Dec 24, 2009 9:52 am

:idea: Oh and what color do you think i should paint it? I was thinking about just leaving the barrel black.
Airsoft: FOR HONOR,FOR GLORY,FOR FUN
User avatar
Gremshaw
Grunt
Grunt
 
Team: Vancouver
Posts: 84
Age: 30
Images: 2
Joined: Sat Oct 10, 2009 1:44 pm
Location: Battle Ground, WA

Postby Eyes On » Thu Dec 24, 2009 10:16 am

It looks awesome! Glad to see you smoothed it up some.

For those who haven't seen this thing in person yet, it's pretty neat. The swivel that allows the barrel to swing sideways for reloading also forces the barrel to stay locked when it is in the closed position. It's pretty slick.
ImageImage
User avatar
Eyes On
1337
1337
 
Team: N/A
Posts: 5244
Age: 113
Images: 4
Joined: Wed Dec 01, 2004 9:45 pm
Location: SPARTA!!!

Postby DJ » Thu Dec 24, 2009 10:28 am

well done....good to see people who will jump in and make things they need or want.....a rare skill today!
Even a fool is thought wise if he keeps silent,
and discerning if he holds his tongue.
User avatar
DJ
Specops
Specops
 
Team: N/A
Posts: 1675
Age: 63
Joined: Wed Feb 25, 2009 8:53 pm
Location: Rural Marion county

Postby Blizzard » Thu Dec 24, 2009 10:44 am

That's pretty tight. It looks a bit more comfortable than when I last held it, and I think you should paint it brown or stain it.
For every action (Bang) there is an equal and opposite reaction (HIT!)
Image
Previously AsianMarksman
User avatar
Blizzard
Soldier
Soldier
 
Team: N/A
Posts: 443
Age: 31
Images: 3
Joined: Wed Jul 30, 2008 2:17 pm
Location: Vancouver

Postby Gremshaw » Thu Dec 24, 2009 3:14 pm

Thanks DJ.

Gunny I stopped by Airsoft outlet and I just got back. My dad picked up one of those old rental Mp5s. the epoxy on the side allows the barrel to lock evan better, and i think we will widen the barrel just a little more it is still not yet wide enough to accept a shell just yet.

Hey AsianMarksman are you going up to the PLA game at ABT on the 26? I would like to see that SWEET g36 long do some dammage up their. I wonder if X has a shell i could test my launcher with.
Airsoft: FOR HONOR,FOR GLORY,FOR FUN
User avatar
Gremshaw
Grunt
Grunt
 
Team: Vancouver
Posts: 84
Age: 30
Images: 2
Joined: Sat Oct 10, 2009 1:44 pm
Location: Battle Ground, WA

Postby Gremshaw » Mon Dec 28, 2009 10:22 am

Here is the new and improved V1 Homade Grenade launcher or the V1 HGL
complete with camo paint and upgrades. Now Keep in mind the paint job is not the best. I know that it probably would have been better to stain it, this paint job is a test to figure out how effective it is. The wood on this is just pine, I will make another with better wood that i will stain.

Image

Image 
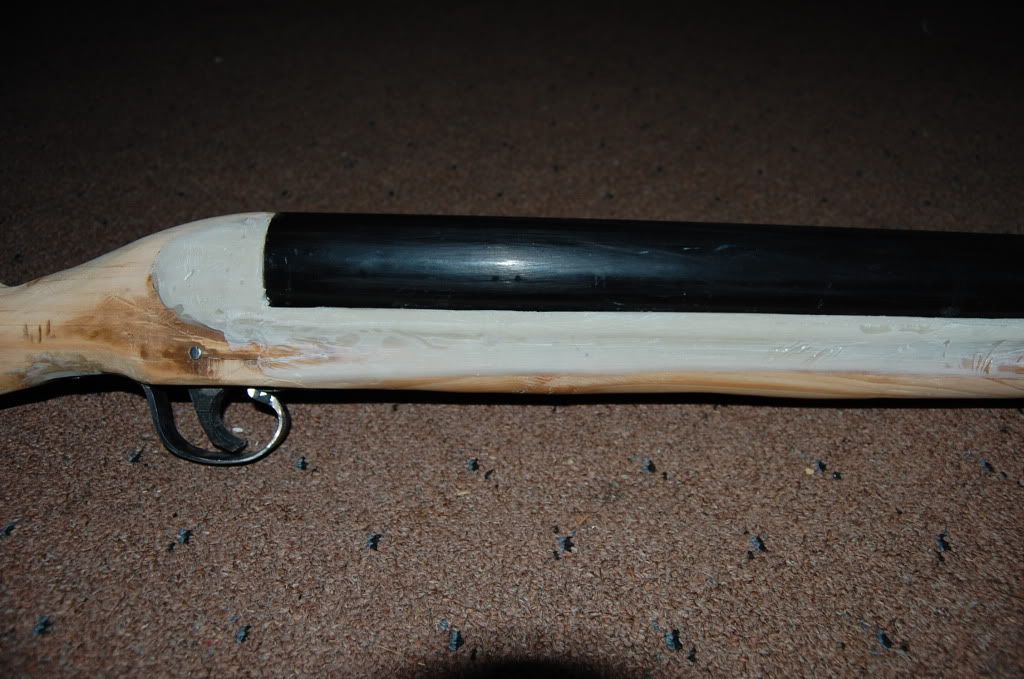
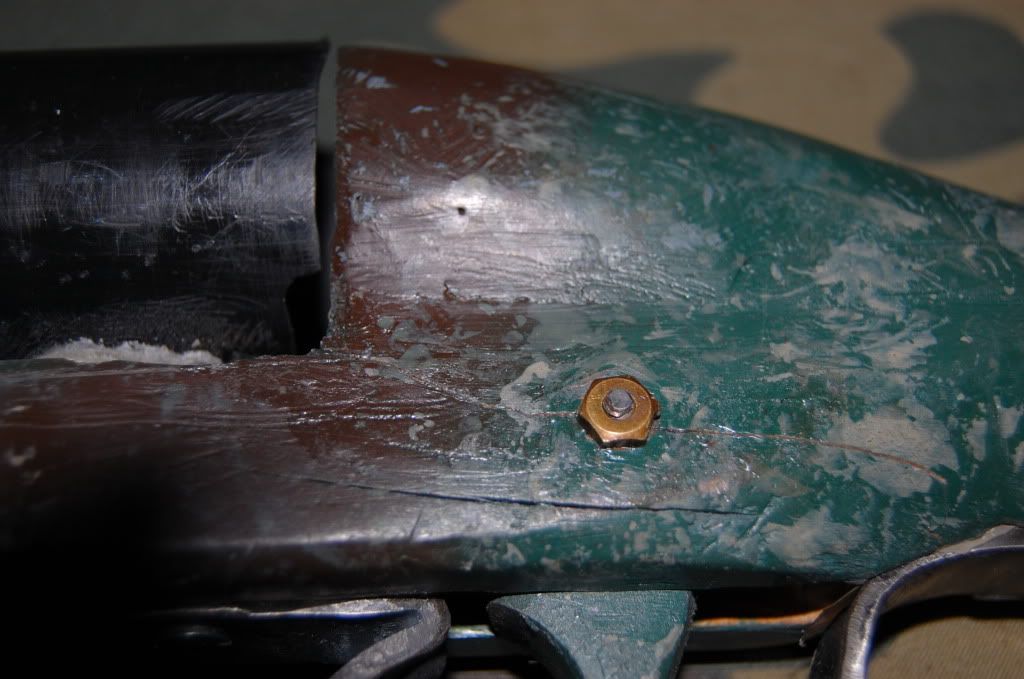
That little hole makes it possible to tighten or loosen the Chicago screw.

Image

Image
That little crack is fixed now with some wood glue.
That screw and nut replace the pinged nail.

Image
those little cut outs make pulling out the shell alot easyer, as well as the fact that i sanded out the barrel to make space for it. Also i replaced the single screw with a Chicago screw and some washers to ensure its tight on the extending arm because the old screw striped the threads on the plastic. the arm I filed out a little more to make space for the Chicago screw inset into the plastic.

Image
These shells are cheap and Very well designed.

Image
that scar on the one side and the crack on the other was from trying to remove the pinged nail

I can't wait to get some Nerf foot balls and pop'em off. :D
Airsoft: FOR HONOR,FOR GLORY,FOR FUN
User avatar
Gremshaw
Grunt
Grunt
 
Team: Vancouver
Posts: 84
Age: 30
Images: 2
Joined: Sat Oct 10, 2009 1:44 pm
Location: Battle Ground, WA

Postby Blizzard » Mon Dec 28, 2009 10:32 am

How does it shoot?

Can you post a video?
For every action (Bang) there is an equal and opposite reaction (HIT!)
Image
Previously AsianMarksman
User avatar
Blizzard
Soldier
Soldier
 
Team: N/A
Posts: 443
Age: 31
Images: 3
Joined: Wed Jul 30, 2008 2:17 pm
Location: Vancouver

Postby Gremshaw » Mon Dec 28, 2009 5:33 pm
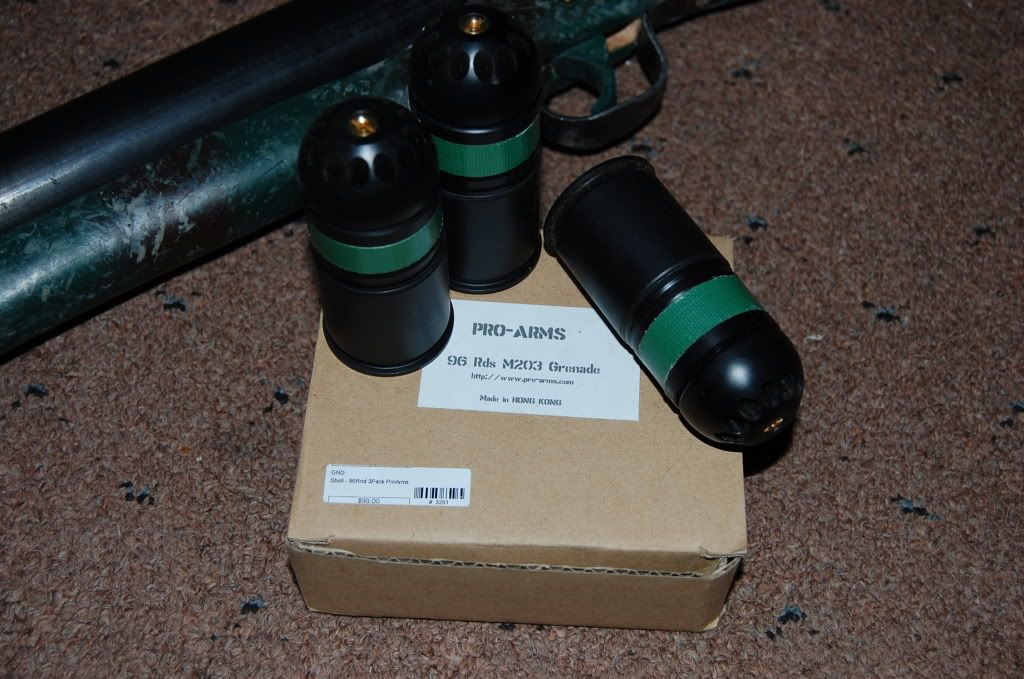
It shoots wonderfully pull, click, :shock: BOOM :shock:
Jeff points is the only one with a camera, ill have to get over to his house to test it.

My original plan was to sneak it into the next game and scare the living daylights out of Points and his bro, but then again I do need to post the video. actually i think my dads camera has video on it Ill have to check.
Airsoft: FOR HONOR,FOR GLORY,FOR FUN
User avatar
Gremshaw
Grunt
Grunt
 
Team: Vancouver
Posts: 84
Age: 30
Images: 2
Joined: Sat Oct 10, 2009 1:44 pm
Location: Battle Ground, WA

Postby afatcow » Mon Dec 28, 2009 5:55 pm

Post the video when you get a chance! I'm excited to see it in action! Looks like another great project!
Image
User avatar
afatcow
Soldier
Soldier
 
Team: The 144
Posts: 404
Age: 34
Images: 2
Joined: Mon Jul 13, 2009 8:10 pm
Location: Seattle, WA

Postby Chairmanlao » Mon Jan 18, 2010 2:40 am

a "how to" would be great. =)

I'm just confused on how you got the trigger part to work. [To push the button]
Chairmanlao
Soldier
Soldier
 
Team: N/A
Posts: 162
Age: 32
Joined: Sat Oct 31, 2009 11:48 am
Location: Portland Oregon

Postby Sarge » Mon Jan 18, 2010 2:48 am

Innovative use of PVC Pipe.
Image
Image
You Have Just Been Sarged!
Airsoft Merc.
User avatar
Sarge
Grunt
Grunt
 
Team: N/A
Posts: 27
Age: 34
Joined: Mon Jan 23, 2006 11:43 pm
Location: Albany, OR

Postby Nelson674 » Sun Mar 21, 2010 7:23 pm

This is great! i love home-made stuff. I too would like to see how you chose to design the trigger mechanism. Also what size pipe is that? it looks like it worked out to be the perfect size for the shells your using.


(sorry i know this thread is a bit old, hope nobody minds)


Nelson
User avatar
Nelson674
Grunt
Grunt
 
Team: N/A
Posts: 12
Age: 34
Joined: Thu Mar 18, 2010 7:48 pm
Location: Oregon

Postby G36 FTW » Sun Mar 21, 2010 8:30 pm

Nice first post. :lol:


And how are those pro-arms grenades? They seemed to suspiciously cheap for me to buy any...
Image
Sneaking around with a derringer since 2010
THE ARMORY
User avatar
G36 FTW
Specops
Specops
 
Team: N/A
Posts: 1188
Age: 30
Images: 3
Joined: Mon Sep 21, 2009 7:11 pm
Location: Walnut Creek, CA

Postby Nelson674 » Mon Mar 22, 2010 8:09 am

yeah, i really wanted to start off with a bang :D

no really, I'm just getting warmed up ;)
User avatar
Nelson674
Grunt
Grunt
 
Team: N/A
Posts: 12
Age: 34
Joined: Thu Mar 18, 2010 7:48 pm
Location: Oregon

Next

Return to Shotguns & Launchers

Who is online

Users browsing this forum: No registered users and 9 guests
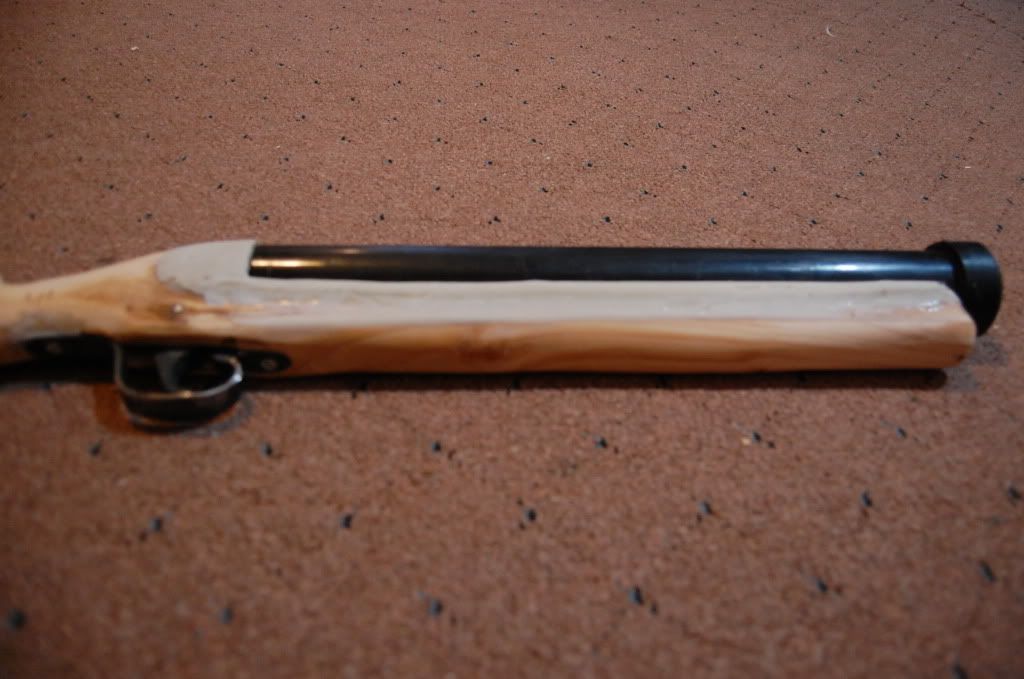
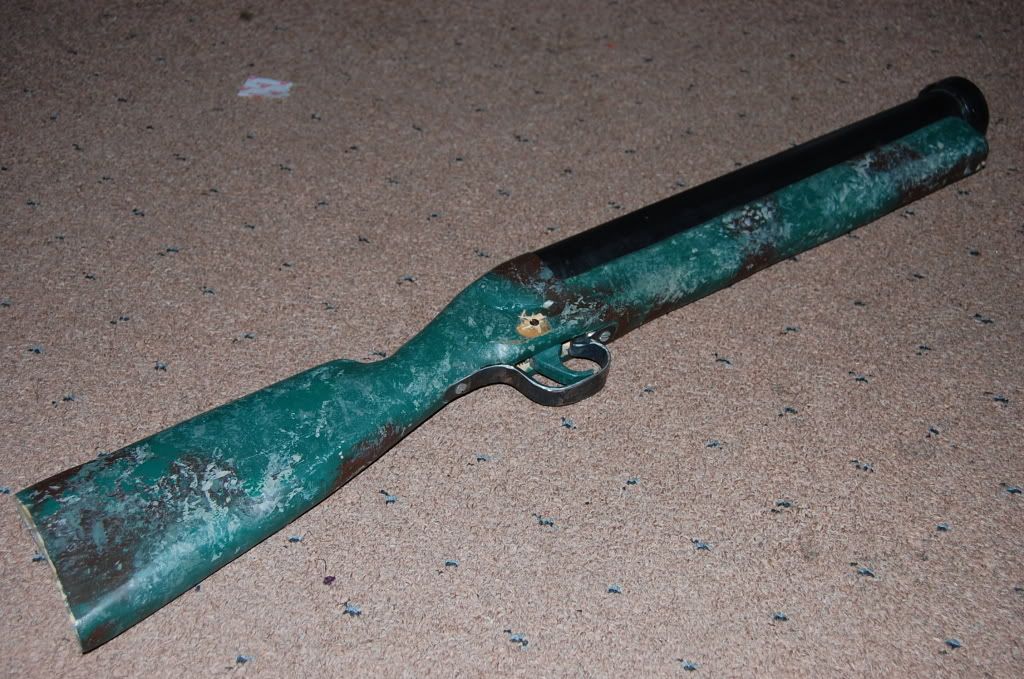